Skip to content
Mina the Hollower Wiki

WALKTHROUGH

Mina the Hollower Early Route Notes

When lost on Tenebrous Isle, check exits, burrowable floors, return paths, Bones/Joules, and Spark Generator objectives.

CONTENT SNAPSHOT

10 guide tables / 2 Q&A / 16 sources

Track the objective first, pickups second, and revisit points third.

START HERE

What To Do First

Official facts, store details, and video observations translated into actions you can use while playing.

Track four things per room

Clean room notes are more useful than pretending every final route is known. Record exits, doors, burrowable floors, and pickups every time you enter a new room.

  • Keep exits and locked paths together.
  • Mark burrowable floors or suspicious walls.
  • Track Bones, Joule Jars, and breakables together.

Sources: official exploration framing / demo videos

Use Spark Generators as route chapters

The story objective is repairing failing Spark Generators across Tenebrous Isle. PlayStation Blog uses a six-generator frame; store-copy differences are kept separate on the walkthrough page.

  • Record the route in and the route back.
  • Check resources before the guardian encounter.
  • Revisit changed paths or NPCs after victory.

Sources: PS Blog / official game page

Return before assuming you are stuck

Before searching for a new area, test older rooms with a new Sidearm, a new Trinket, or a newly noticed burrow route.

  • Rebuild loadouts at Ossex or the Underlab.
  • Reread NPC, newspaper, and sign hints.
  • Try new tools in rooms you already marked.

Sources: official and review exploration context

Practical Guide

Start the walkthrough by treating each room as a small checklist: current objective, exits, shortcuts, Bones, trinket notes, and sidearm opportunities. Mina explores Tenebrous Isle through the objective of repairing failing Spark Generators; the route table keeps the PS Blog six-generator frame and store-copy differences separate.

Early route habits

Mina works best as a checkpoint-style guide: identify the next device, door, NPC, or boss, then clear what the current area offers before moving on. This keeps route notes useful even before every final item location is known.

  • Pick one immediate objective before exploring side rooms.
  • Separate Bones, trinkets, sidearms, and shortcuts in your notes.
  • Treat demo footage as an early reference, not final item placement.

Stuck checklist

Before searching for a new area, inspect burrowable tiles, suspicious walls, unused sidearms, and previous rooms that may change after a new tool or story beat.

  • Mark forks, locked doors, return paths, and shortcut changes before leaving the area.
  • Enter boss rooms with Joules and recovery options saved.
  • Return to old rooms after movement or combat upgrades.

QUICK ANSWERS

Walkthrough Answers First

A practical route frame for deciding what to inspect next during a first clear.

Question Current answer How to use this
What is the main objective? Repair six failing Spark Generators across Tenebrous Isle. PlayStation Blog; generator names, boss names, and order stay source-labeled.
What is Ossex? Use it as the powered hub context for NPCs, Underlab checks, shops, and direction hints. Official overview / PS Blog; not every progression condition is assumed to resolve there.
What should I check when lost? Exits, burrowable ground, breakables, return paths, Joule refills, and unused sidearms. Official exploration frame plus video observations.
What does the demo cover? Opening area through the first major boss, useful for mechanics and carryover context. Yacht Club Games / PlayStation Blog; placements and rewards remain separate.
Should I revisit old rooms? Yes after new equipment, sidearms, trinkets, or hints; update shortcuts and collection notes. Interconnected exploration context; update return paths, shortcuts, and collection notes as you revisit rooms.

For a first clear, use the checklist below before optimizing for full collection routes.

Primary Evidence

Room-by-Room Progress Manual

A walkthrough method built around what to record when you enter, clear, and leave each room.

Moment Record Next action Source / basis
Entering a new room Exits, locks, burrowable ground, breakables, and Joule Jars. Decide whether the room must be cleared or can be crossed safely. Official interconnected exploration
When a generator objective appears Access route, guardian fight, pre-boss refill, and post-win return point. Treat Spark Generators as route hubs, not just destination labels. PlayStation Blog
After a boss Return to Ossex, Underlab, NPC/newspaper hints, and unresolved old-area notes. Revisiting and hint reading are part of the launch-window routing context. Official material / beginner videos
Using demo footage Extract controls, UI, and enemy tells; re-check placement and rewards in the full game. Demo footage is useful practice but weak proof for final route facts. YCG demo notice / Game Informer demo

This is not a forced route order; it is the order of checks to use when stuck.

Official Route Anchors

These official anchors make the walkthrough useful during a first clear without inventing a fixed route order.

Anchor Confirmed detail How to use it in the guide
Tenebrous Isle The cursed island Mina explores. Use as the top-level map, area-order, and revisit-routing container.
Spark Generators The main objective is framed around repairing six failing Spark Generators. Track access route, guardian boss, and what opens after each generator.
How many Spark Generators? PS Blog says six Spark Generators, while PS Store demo copy can show a seven-generators phrase. Use the PS Blog six-generator frame for route planning and read store-copy differences as purchase-page wording.
Ossex Described as the only area still running at full power. Treat as the hub context for NPCs, Underlab, shops, and revisit notes.
Underlab Confirmed as the place where trinkets can be equipped and removed. Return after new trinkets and sort loadouts by exploration, boss, or survival use.
Path choice Official wording says players can choose paths, with harder paths and unique rewards possible. Separate safe routes, collection routes, and challenge routes instead of forcing one order.
Demo scope Official updates describe a demo from the opening stage through the first major boss with progress carryover. Use for controls and room-reading, not final item placement or rewards.

Use this table as a player checklist: official anchors drive the page, while individual names and order stay source-labeled.

Walkthrough Decisions: What to Check Now

Even before a full map is verified, official generator, Ossex, Underlab, and demo context can produce useful route decisions.

Situation Check now Next action How to verify
Opening minutes Burrow, Nightstar spacing, Plasma Vials, Joules display, and breakables. Learn exits and hazardous floor rules before chasing every enemy. Official demo / PS Blog
Returning to Ossex Underlab, shops, NPCs, newspaper/direction hints, and closed doors. Rebuild trinkets by exploration, boss, or survival role. PS Blog / beginner notes
Before a generator route Joules, Plasma, current weapon, equipped trinkets, and return path. Save sidearms in unknown rooms and enter boss rooms with recovery and Joules. Official generator framing / economy video
Blocked by a boss Tells, dodge method, punish windows, repeated damage source, and sidearm reliability. Spend one attempt observing before blaming the weapon or stats. Dodge and Parry video / weapon article
After new equipment Old floors, walls, platforms, water/pits, unused sidearms, and NPC changes. Update revisit notes without calling them complete collection routes. Official exploration, secrets, and path-choice framing

This is not a fastest route. It is a first-clear checklist that remains useful while final map data is still being verified.

Area Route Checklist

Turns official anchors, previews, and community notes into a route checklist players can use now.

Area / anchor Objective Player checklist
Tenebrous Isle Overall cursed-island setting and interconnected exploration. Track areas, revisit points, generators, bosses, NPCs, and shops separately.
Ossex Hub-like context described as the only area still at full power. Check Underlab, shops, NPC hints, loadout changes, and newspaper-style direction after returns.
Demo opening stage Official demo scope runs from the opening through the first major boss. Practice starting weapon choice, Plasma Vials, Joules, sidearm use, and pre-boss resource saving.
Queensbury Crypt Cemetery route context from wiki.gg and Mobalytics notes. Track shortcuts, crypt routes, Proto Spark notes, and Joules/Plasma before boss doors.
Nox's Bayou Swamp, water, plant, and predator-style hazards from community and guide notes. Check water, poison, uneven footing, revisit points, and swamp picks such as Vascular Syrup, Pit Preserver, or Iron Lung.
Eastern Heath Area note with sidearm upgrades, Joules economy, and chain-hit trinket context. Track Smelling Salts, Windfall Charm, and Chain Capacitor together with sidearm spending notes.
Western Wilds Recovery-wisp, fire/explosion safety, and wilderness-route trinket notes. Check Helio the Wisp, Flame Guard, and Dead Leaf by recovery safety and exploration value.
Backwaters Death-risk, invulnerability, and enemy-count trinket notes. Use Spark Catcher, Evasion Powder, and Glutton's Jug as pre-route insurance options.
Bone Beach Mid-game area note from Game Informer hands-on coverage. Note ranged enemies, poison clouds, flying threats, throwing enemies, and sidearm spending.
Kindlewood Wall-burrow, sidearm-damage, lightning, and burrow-pressure trinket notes. Split Wallower's Gauntlets, Draining Beastium, Oozing Organ, and Voltaic Guard by exploration and boss use.
Coltrane Peak Reactive-damage, damage-avoidance, and clean-route Bones notes. Sort Burning Beastium, Blinking Glass, and Watchful Eye by safety, counterplay, or farming use.
Radiant Manor Mimic encounter and jumping-support notes. Treat Dodging Pendulum as reaction practice and Spring Heels as platforming support.
Sandfalls Burrow chaining, dark-area safety, and surfacing damage notes. Track Tunneling Codex, Polyp Lamp, and Niter Belt as route and danger-room options.
Septemburg Knockback and lightning-oriented trinket notes. Record Repulsing Root and Lightning Grip for crowd pressure and post-heal counterplay.
Newspaper / NPC hints Launch guide note for directional hints after progress. Return after major bosses and check newspapers, NPC dialogue, and suggested direction.
Sidearm spawn notes Official sidearm rules cover field pickups, Joules use, and loss on death. For each area, record sidearm spawns, Joule Jars, breakables, and boss-room reserves.

Use these rows for first-clear checks: exits, shortcuts, NPCs, equipment updates, sidearm spawns, and boss-room reserves.

What To Do When Progress Stalls

Turns the official Spark Generator structure and review observations into practical decisions.

Situation Check first Why it helps Source type
You cannot reach the next generator Check alternate exits, revisit paths, NPC/newspaper hints, and suspicious ground. Official material frames the generators as spread away from Ossex with room for path choice. Official
A boss keeps stopping you Save Joules, rebuild trinkets at the Underlab, and explore elsewhere for Bones/Bone Up. Bones, Bone Up, trinkets, and sidearms are confirmed preparation systems. Official
A room has too many hazards Classify whether the solution is burrow, jump, sidestep, or sidearm use. Burrowing is core to combat, hazard crossing, and movement; this is not just walking around danger. Official/store
Bouncy Pods block the way Before attacking the pod, try burrowing underneath to move it. RPG Site calls out Bouncy Pods as a puzzle example where burrowing underneath changes the room. Review observation
The route is unclear Track environment type, return routes, closed doors, and NPC wording instead of only objective names. Review coverage describes hub-outward exploration and clue reading as important. Review observation
The difficulty feels too high Try another route, farm Bones, change equipment, and separate modifier use from first-clear notes. Reviews describe real pressure, but also route changes and preparation as ways through. Review observation

This is not a fastest-route table. It is a launch-window decision aid for players who are stuck.

Opening-to-Generator Action Checklist

A practical walkthrough table built from official demo context, PS Blog details, and video observations. It is a usability guide, not a fastest route.

Phase What to do Data to record Use this note for
Opening minutes Test Nightstar spacing, burrow, jump, Plasma Vials, and how Joules appear. Enemies that hit you, breakables, burrowable ground, exits, and return paths. Record launch-build item placements and rewards as you find them.
When a sidearm appears Use it once on a safe enemy and observe arc, recovery, and whether Joules are spent. Separate thrown, returning, mobility, explosive, block, or summon-style use cases. Record the pickup room and exact Joules cost when you test it.
Returning to Ossex Check the Underlab, shops, NPCs, newspaper/direction hints, and locked doors. Loadout changes, Bone Up, Joules refill opportunities, and next-direction clues. If stuck, also recheck exits and older rooms outside Ossex.
Before leaving toward a generator Check Plasma, Joules, equipped trinkets, and weapon comfort. Split loadouts by exploration, boss, and survival before spending resources in risky rooms. Record each generator name and guardian when you reach them.
When a boss blocks progress Spend one attempt only reading tells, dodge choices, punish windows, and safe healing moments. If the same hit repeats, adjust positioning and Joules saving before blaming weapon choice. Keep only the safe action your own loadout can repeat.
After a new tool or equipment change Revisit older rooms and check walls, floors, platforms, water/pits, and closed doors. Update trinket, sidearm, Bones, and shortcut notes. Add revisit pickups to your map notes as they are confirmed.

This table translates confirmed systems and demo/video observations into practical play steps. Final map order, rewards, and boss names remain separate data.

First-Route Data Check

Turns official objective, Ossex, Underlab, demo scope, and sidearm-risk facts into checks a player can use during a first clear.

Moment Known information Player decision How to verify
Returning to Ossex Ossex is framed as the area still at full power, and trinkets can be equipped or removed at the Underlab. After finding a trinket, rebuild into exploration, boss, or survival use; also recheck NPC/newspaper/shop hints. PlayStation Blog / Mobalytics beginner notes
Before a Spark Generator route The main objective is repairing six failing Spark Generators across Tenebrous Isle. Each is far from Ossex and guarded by fierce bosses. Check Joules, Plasma, equipped trinkets, return path, and boss-room refills before committing. PlayStation Blog
Using demo-derived route info Official demo scope runs from the opening stage through the first major boss, with progress-carryover context. Use it for UI, early controls, tells, and room reading; keep placement, rewards, and final order separate. YCG Blog / PlayStation Blog
When you are lost Official route context says players can choose paths, and progression does not require trinkets or special equipment. Before assuming a missing item, recheck closed doors, burrowable ground, alternate exits, and NPC/newspaper hints. PlayStation Blog / Mobalytics beginner notes
After picking up a sidearm Sidearms are found in the field or breakables, use Joules, and are lost on death. Track the pickup room, nearby Joule Jars, breakables, and boss-route reserves; avoid wasting them in blind rooms. PlayStation Blog

This is not a speedrun route. It converts currently supported facts into first-clear decisions.

How Video Sources Feed Route Notes

Trailers and demo footage are useful for room-reading and screen reference, not final route order.

Video / source What to watch Action to try Keep separate
World Premiere Trailer Early public footage shows tone, enemies, rooms, and UI framing. Use it to recognize the game's screen density, room rhythm, and enemy presentation before playing. Final area order, boss order, or item locations.
Game Informer Demo Demo footage shows opening controls, screen layout, and room structure. Label as demo-scope and use for exits, terrain, and enemy-tell teaching. Launch-build route, rewards, or item placement.
IGN Switch 2 Gameplay Platform footage helps check screen layout and UI readability. Compare handheld and TV readability before choosing where to play. Exact framerate or performance guarantees.
Japanese / Chinese gameplay First-look videos reveal local wording and common points of confusion. Use for stuck-checklists and localized section headings. Official area, NPC, or route names.

Every video route note should be labeled demo, preview, review, or launch build.

Spark Generators Route Notes

Turns the official main objective into practical route fields: access, refill, guardian fight, and return point.

Checkpoint What is known Player action
Main objective Repair failing Spark Generators across Tenebrous Isle. PlayStation Blog uses a six-generator frame. Track access route, guardian boss, and return points for each generator.
Ossex Described as the only area still running at full power. Use it as hub/context for NPC, Underlab, and route notes.
Route flexibility Official wording says players can choose paths, with harder routes and unique rewards possible. Split safe route, collection route, and boss route instead of forcing one order.
Required equipment Official wording says trinkets or special equipment are not required to progress. When stuck, check room clues, doors, burrowable ground, and hints before assuming a missing item.
Demo scope Opening stage through the first major boss. Use for UI and mechanics; keep placement and rewards separate from final route data.

Use this table for objective structure; keep generator names, boss names, and route order source-labeled.

Early Route Checklist

A compact route table for objectives, room-reading, and demo-scope practice.

Item Data What to do with it
Premise Rescue a cursed island. Official overview
Spark Generators Failing Spark Generators drive the route. Track objective, guardian boss, and return paths together
Structure Exploration, secrets, combat, interconnected level design. Use this to read rooms and route choices
Demo footage Game Informer and other demo videos. Kept separate from final route facts
Revisit routing Old areas may need rechecking after tools or story beats. Player checklist

Questions Answered

Direct answers for the most common player questions on this topic.

What should I check first when I am lost?

Read the room before chasing a new area: exits, burrowable ground, return paths, Bones, Joules, and sidearm use. The official frame is six failing Spark Generators, so pair each objective with access, refill, guardian fight, and return notes.

PlayStation Blog, press kit, Game Informer demo

How should I use demo footage while playing?

Use it for movement, UI, enemy tells, burrowing, and Joules visibility. Official updates say the demo covers the opening stage through the first major boss and can carry progress, so the safest use is mechanics practice rather than treating placement or rewards as final route data.

Game Informer demo, PlayStation Blog

OFFICIAL SCREENSHOTS

Official Screenshots

Selected lightweight screenshots from the Yacht Club Games press kit for guide pages and screen reference.

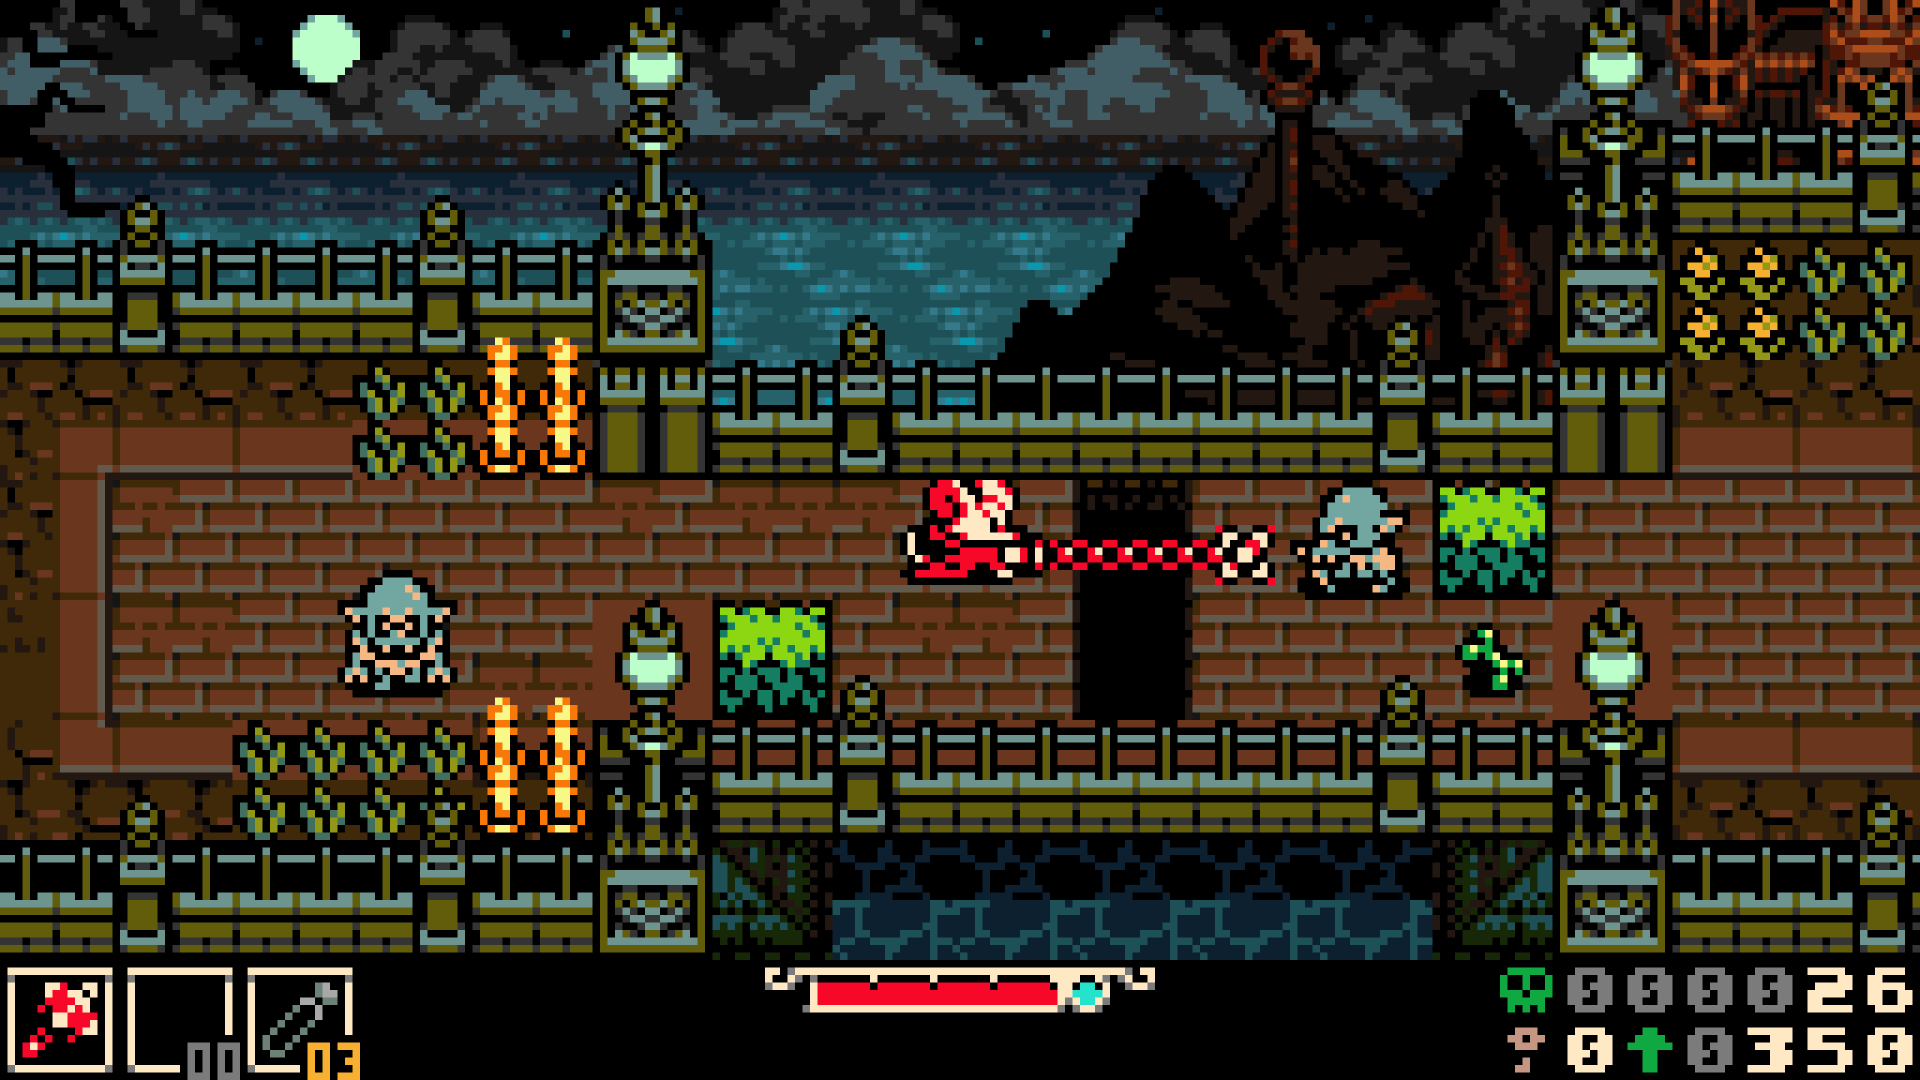
Official press-kit image 1
Official press-kit image #1 Official press-kit / Steam screenshot for exploration and baseline screen reference.
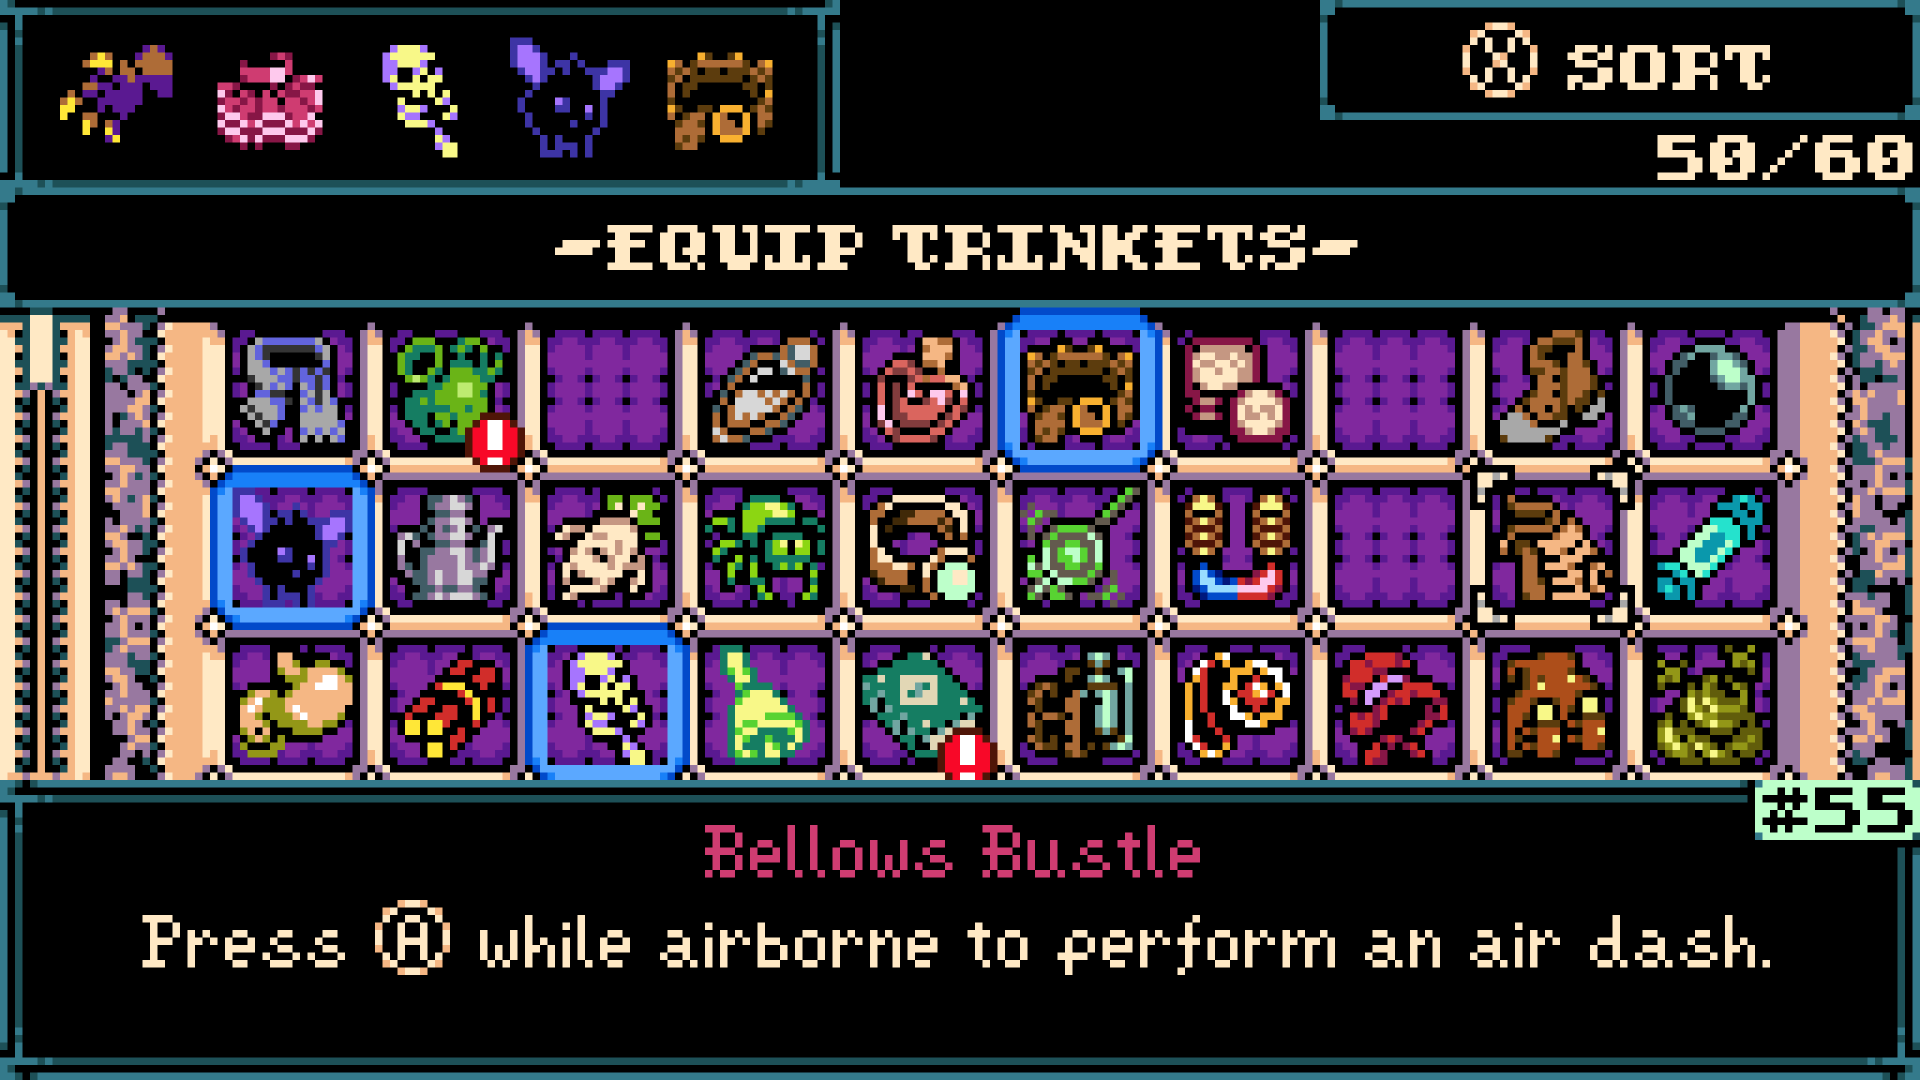
Official press-kit image 2
Official press-kit image #2 Official press-kit / Steam screenshot useful for localization and menu references.
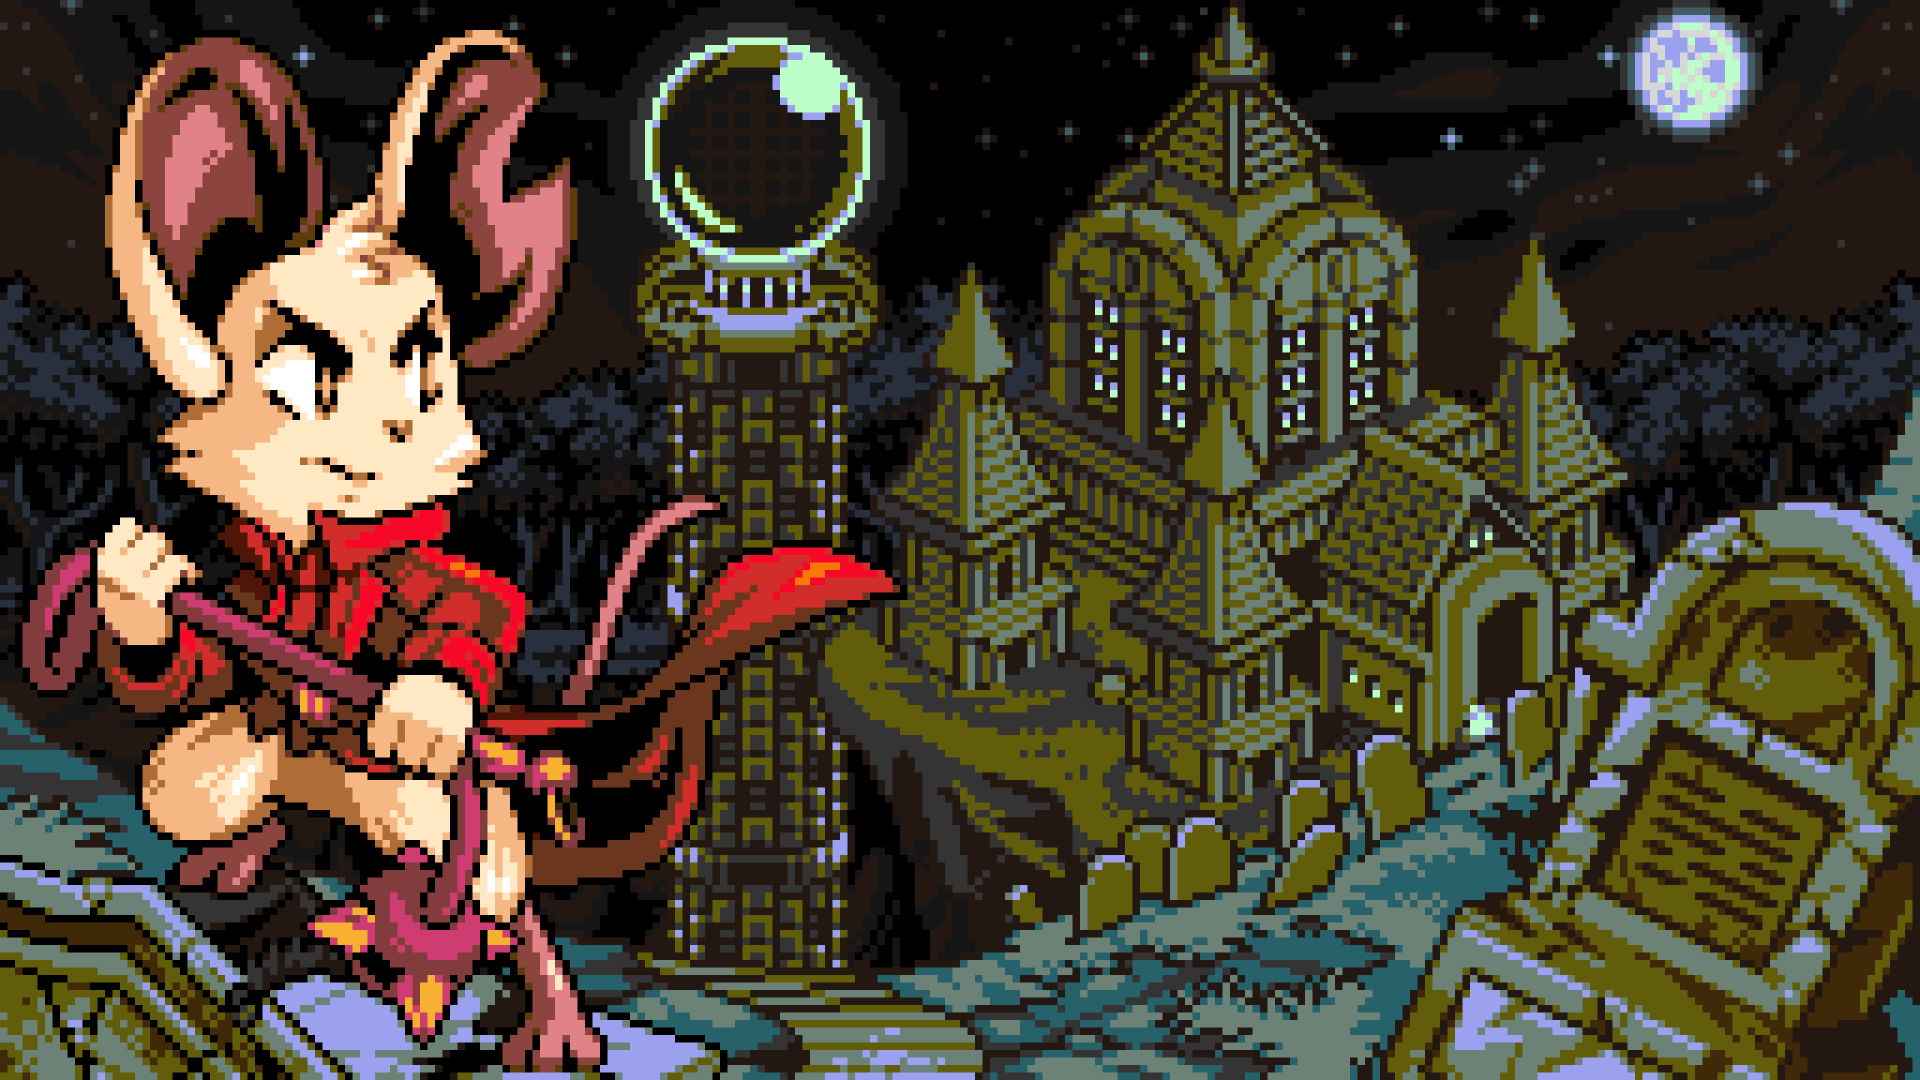
Official press-kit image 3
Official press-kit image #3 Official press-kit / Steam screenshot kept as a later-game reference.

Key Takeaways

  • The game follows Mina across a cursed island with exploration, combat, and item discovery.
  • Demo footage can help structure early-game pages but must be labeled as demo-scope when used.

What this page covers

  • Early walkthrough
  • Demo vs full game notes
  • What to check when stuck

Video and Image Sources

Use official and review videos for play feel, early routing, and buying context. Video content stays linked or embedded, not copied as subtitles or rehosted frames.

Game Informer

Game Informer Full Gameplay Demo

Demo-scope gameplay reference for early route and mechanics notes.

YouTube

SOURCES

Sources for this page

View all sources
Official

Yacht Club Games Official Page

Primary source for Yacht Club Games development/publishing, overview, genre, features, Steam/Humble/Nintendo entry points, release date, and language framing. Use live PS/Xbox store pages for current edition labels.

Official

Yacht Club Games Spring 2026 / Demo Update

Official update for demo scope, progress carryover, launch window, platform context, NG+, gameplay modifiers, and fishing.

Official

PlayStation Blog / Yacht Club Games

Official gameplay article covering the PS Blog six-Spark-Generator frame, starter weapons, 20+ hours, 25+ bosses/mini-bosses, 60 Trinkets, Underlab, Bones, Bone Up, Sidearms, Joules, and demo progress.

Official

Official Press Kit

Primary source for release date, ESRB E10+, overview copy, and official images/videos. Use PS Blog or official updates for boss count, trinket count, NG+, modifiers, and fishing.

Video

Yacht Club Games Demo Playthrough

Official demo playthrough for controls, UI, and early-game flow context. Do not use it as final route or reward proof.

Video

The Game Awards World Premiere Trailer

Summer Game Fest footage used for screen and tone reference, not final route order or item placement.

Video

Game Informer Full Gameplay Demo

Demo-scope gameplay reference for early route and mechanics notes.

Video

PC 4K Full Demo

No-commentary PC demo reference for UI, early route flow, and room structure. Demo scope only.

Review / Research

Mobalytics Beginner Guide

Launch-window beginner guide note for weapon choice, hints, Sparks, trinket slots, sidearms, and modifiers.

Community Reference

wiki.gg Tenebrous Isle Page

Community reference for area names and world notes. Use as area-name context, not final route order.

Review / Research

Game Informer Bone Beach Preview

Hands-on preview note for Bone Beach and mid-game hazards. Use for area checklists, not final route order.

Video

IGN - Hands-On Preview

試遊プレビュー。見た目は携帯ゼルダ風でも、難度やリスク管理が強い点の文脈。

Review / Research

GameSpot Review Article

Review context for difficulty, exploration density, weapons, sidearms, trinkets, and completion-time impressions.

Review / Research

RPG Site - Mina the Hollower review

エリア順の自由度、burrow、Trinket、Modifiers、クリア時間のレビュー文脈。正式ルートや全Trinket位置の根拠にはしない。

Review / Research

GamesRadar+ - Mina the Hollower review

初期3武器、Plasma/healing、Trinket/build、NG+、おおよそのクリア時間のレビュー文脈。数値やビルド強度は公式事実として扱わない。

Review / Research

Famitsu Japanese Review

Japanese-language source for local wording, burrowing feel, difficulty impressions, and buying-context vocabulary.