Skip to content
Mina the Hollower Wiki

BOSS ARCHIVE

Mina the Hollower Boss Name Index and Prep

Read first-time bosses by tells, dodge method, punish windows, Joules saving, and loadout changes.

CONTENT SNAPSHOT

10 guide tables / 2 Q&A / 19 sources

Use the first attempt to observe tells instead of chasing damage.

START HERE

What To Do First

Official facts, store details, and video observations translated into actions you can use while playing.

Make the first attempt observational

The first pull should teach you where damage comes from, what can be burrowed under, and when healing is actually safe.

  • Note direction and timing, not attack names.
  • Split attacks into burrow, sidestep, or spacing answers.
  • Only heal during confirmed recovery windows.

Sources: YCG Dodge & Parry / demo boss videos

Classify attacks by escape

Boss guides become useful when every threat has an answer: burrow, jump or sidestep, or wait outside range.

  • Test floor attacks for burrow safety.
  • Measure rush and projectile lanes.
  • Wait just outside close-range swings.

Sources: official action notes / YouTube observation

Match weapons to punish windows

Use the weapon you can land safely. The site only treats officially revealed weapon names as baseline facts.

  • Use quick hits for short openings.
  • Consider Maul-style hits only on long recovery.
  • Spend Sidearms on openings you are unlikely to miss.

Sources: official YCG weapon article / PS Blog

Practical Guide

Official material points to more than 25 bosses and mini-bosses, with six Spark Generators guarded by bosses. This page starts with strategy that helps immediately: read tells, choose the right dodge method, save Joules for reliable punish windows, and adjust loadout based on how you are taking damage.

How to read a boss

Sort each attack by the action that avoids it: burrow, jump, sidestep, spacing, or resource use. Once the dodge method is clear, the safe punish window becomes easier to see.

  • Classify attacks by how the player avoids them.
  • Split loadouts into safe, fast, and beginner-friendly options.
  • After winning, connect the reward to the next route or loadout change.

If you cannot win

Identify the damage source first. Contact damage, projectiles, rush attacks, and floor hazards each imply a different fix: spacing, burrow timing, central positioning, or resource conservation.

  • Practice dodging one pattern without attacking.
  • Avoid being pinned at screen edges.
  • Save Joules for late-fight pressure if the fight has a final rush.

QUICK ANSWERS

Boss Answers First

Start with official boss count and practical fight-reading: tells, dodges, punish windows, and resource checks.

Question Current answer How to use this
How many bosses are there? PlayStation Blog says more than 25 bosses and mini-bosses. PS Blog; read the name index, attack-reading tables, and Generator boss context separately.
What are generator bosses? Six Spark Generators are guarded by ferocious bosses, so prepare around resources and loadout. PlayStation Blog; track each generator by access route, guardian, and post-victory change.
What should I watch first? Tells, dodge choice, punish window, safe healing, and when to spend Joules. Video observations; hitless and speedrun footage is not the default route.
How do I adjust after failing? Identify whether the failure is spacing, short punish windows, recovery timing, or Joules shortage before changing weapons. Beginner videos and review context.
Can video boss names be used? Only if the name is visible or cross-checked; otherwise the guide uses attack-type advice. YouTube / community notes are secondary evidence.

Use readable combat behavior first: tells, dodge choices, spacing, punish windows, and resource checks.

Primary Evidence

Boss Attempt Manual

A usable first-attempt process even before every boss name and reward is verified.

Phase Do this Decision rule Source / basis
First attempt Stop attacking and identify whether damage comes from rushes, projectiles, contact, or floor hazards. Do not blame stats until the damage source is named. YCG Dodge & Parry / boss videos
Classify dodges Choose burrow, jump, sidestep, or spacing for each attack. Remember attacks by the safe response, not by their visual style. Official action framing
Punish Use a weapon or sidearm only when the boss stops, returns, or enters recovery. Short openings favor quick weapons; long openings allow heavy punishes. YCG weapon article
If you keep losing Change trinkets at the Underlab, save Joules, and check Bones/Bone Up through another route. Use confirmed preparation systems to remove repeated failure patterns. PlayStation Blog

The boss page prioritizes readable attacks and safe punish windows before complete name coverage.

Pre-Boss Checklist and Failure Diagnosis

Translates official combat systems and demo/video observations into decisions before entering a boss room.

Failure / situation What to check Adjust Why
You die to rushes or contact Check whether you are being pinned at the edge and whether burrow or sidestep can reset center. Positioning, burrow timing, Nightstar spacing. Early learning is faster when you preserve safe distance before chasing damage.
Projectiles or wide attacks overwhelm you Decide whether the pattern asks for jump, burrow, spacing, or defensive weapon play. Defensive weapon choice, dodge practice, Joules saving. YCG's dodge/parry material supports reading attacks by response, not button mashing.
You run out of Joules late Check whether sidearms were spent on safe rooms and whether Joule Jars were skipped. Sidearm count, refill notes, boss-room reserve. Sidearms spend Joules and can be lost on death, so reliable hits matter.
Healing keeps getting interrupted Check whether Vial use is happening during a safe recovery window. Recovery trinkets, spacing, one observation-only attempt. The question is not only healing amount; it is whether a safe heal window exists.
Changing weapons does not help Match the weapon to short windows, long windows, defense, or ranged pressure. Nightstar / Whisper & Vesper / Blaststrike Maul / Guardian Casket / Battery Buster. The official weapons differ by moveset, so punish-window fit matters more than raw ranking.
The same pattern kills you repeatedly Spend one attempt dodging only, without attacking. Execution notes rather than loadout changes. Use videos for tells, dodge choices, and punish timing, not hard damage data.

Even before every boss name, reward, or order is verified, this table gives the boss page practical value.

What To Learn From Each Boss Attempt

A repeatable loop that turns every attempt into useful guide data before the full boss list is complete.

Attempt Goal Watch for Next adjustment
Attempt 1 Observe without chasing damage. Opening action, rush/projectile/area patterns, and attacks that burrow can avoid. Pick the single most common damage source.
Attempt 2 Find safe zones and punish windows. How long the boss stops, where Mina gets cornered, and when healing is possible. Stay with Nightstar for spacing, or test Whisper & Vesper only for short windows.
Attempt 3 Decide Joules and sidearm use. Guaranteed-hit moments, miss risk, and how much should be saved for the last phase. Spend fewer sidearms in the route leading to the boss.
Attempt 4+ Fix the failure cause with loadout changes. Positioning for contact, defense/evasion for projectiles, Vial timing for failed heals. Swap trinkets at the Underlab from exploration to boss survival.
After victory Record route changes. Opened doors, return paths, pickups, and NPC/newspaper changes. Feed the walkthrough and trinket pages.

This is a general boss-learning loop. HP, rewards, and named attacks are tracked separately from first-attempt advice.

Boss Response by Attack Type

Before every boss has a full page, use the information a player can safely act on: attack type, response, and punish-window logic.

Attack type Tell to watch Safe response Punish / loadout option
Rush / contact Body pulls back, direction locks, or Mina lines up with the boss. Reset toward center, sidestep, or burrow off the line. Use Nightstar at mid-range. Close weapons should wait until the boss stops.
Projectile / side pressure Firing pose, weapon direction, or lingering floor danger. Classify the answer as jump, burrow, spacing, or defensive weapon play. Guardian Casket context, or save Joules for a reliable sidearm counter.
Area attack Ground warning, charge-up, or movement toward the center. Do not attack first. Leave the zone and re-enter near the end. Blaststrike Maul only fits large recovery windows; do not pre-swing blindly.
Summon / add phase The boss pauses while smaller threats or bullets appear. Prioritize safe space and Joules pickup before chasing the boss. Wide sidearms, Seismic Belt, or Fly Bait-style options are options after confirmation.
Heal punish Projectile, rush, or area hit reaches Mina during Plasma Vial use. Wait for recovery, skip one attack turn, then heal. Plasma Funnel, Valor Medallion, or Counter Vial options once obtained.
Short punish window Brief stop after an attack or slow turn-around. Take one hit, then leave. Do not mash through the next tell. Whisper & Vesper fits short windows; Nightstar remains safer for learning.

This table turns readable combat information into strategy without claiming boss rewards or full boss order.

Boss Practice Notes Confirmed by Video

Not a full boss database; this table turns visible combat footage into safe practice notes.

Boss / note Practice source What it shows Use it for Not used for
Nether Kraken Bobwhite all-weapons demo The same fight changes by weapon range, recovery, and punish rhythm. Compare safe spacing for Nightstar, daggers, and heavy weapons. Launch rewards, boss order, or final DPS.
Hulk Trooper Celestial Spark daggers / no-sidearm video Short-range and no-sidearm pressure makes disengage timing important. Practice one close hit, then leave before the next tell. Whether it is required, reward data, or all attack names.
Demo boss index CJAC GAMING / CrankyTemplar Demo bosses can be compared by tells, dodge direction, and punish windows. Extract dodge lessons without treating no-damage play as the default route. Final boss order, placement, or drops.
First major boss fight Official demo scope The official demo scope runs from the opening stage through the first major boss. Practice tells, dodge choices, and punish windows without treating demo routing as final. Launch-build rewards, final order, or all attack names.

The useful launch-window boss content is readable tells, dodge choices, spacing, and punish windows.

Boss Facts You Can Prepare Around

Organizes official boss scope, demo fights, and named reference entries into preparation advice players can use.

Boss / scope What is known Prepare this way How to read it
25+ bosses / mini-bosses Overall scale confirmed by official material. Build boss notes around tell, dodge method, punish window, and post-victory route changes. Read as official scope; confirm individual order in game.
Spark Generator guardian bosses Official context says six Spark Generators are guarded by fierce bosses. Track each generator by access route, guardian, and what changes after victory. Read as the official main objective; record each guardian as you reach it.
First major boss fight Official demo scope runs from the opening stage through the first major boss. Use as demo practice, not final launch-order or reward proof. Use as demo practice; keep launch rewards and order separate.
Nether Kraken A demo fight supported by video titles, including all-weapon comparison footage. Compare spacing, recovery, and safe punish windows across weapons. Use the footage to practice spacing and punish windows.
Hulk Trooper Mini-boss note from wiki.gg plus a daggers/level-1/no-sidearm video. Study short-range spacing and resource-free pressure. Use as short-range practice material.
The Duchess of Queensbury Named in the wiki.gg Bosses category. Use as a Queensbury Crypt entry to confirm when encountered. Read as an area-linked boss name; attacks and rewards belong in encounter notes.

Use this as a known boss-preparation list: official scale, demo fights, and name-index entries are grouped by what you can practice now.

Boss Name Index From Feats and Wiki Notes

Searchable boss names organized by source signal, what to record in play, and how the page uses them now.

Name Main source What the source supports Watch while playing How this page uses it
Thorne Exophase Exophase has a Thorne Beater goal for defeating Thorne for the first time. Record opening behavior, dodge answer, and what changes after victory. Use this page for the name, first-read behavior, and prep notes; do not treat it as location, reward, or HP proof.
Armand / Maxi / Willis / The Dugin / Evra Exophase Exophase lists all five under a Renegade Roundup defeat goal. Split each into its own encounter note when reached, with attack type and area. Useful as a name index; not used as order, required-route, or reward proof.
Spark Generator boss PS Blog / Exophase Exophase has an Untouchable goal for defeating a Spark Generator boss without damage. Track each Generator guardian separately and note no-damage practice windows. Use as a boss category tied to the six Generators, not a proper name.
The Duchess of Queensbury wiki.gg Bosses wiki.gg lists the name in boss context tied to Queensbury. When reaching Queensbury Crypt, record entry route, room shape, and resource state. Name and area context are indexed; attacks, rewards, and order are not claimed here.
Hulk Trooper wiki.gg / YouTube wiki.gg lists it as a mini-boss, and there is daggers / level-1 / no-sidearm footage. Practice short-range spacing: one hit, disengage, and save Joules. Indexed as a mini-boss reference focused on practice value, not required status or rewards.
Nether Kraken / The Congealed YouTube / review caption Nether Kraken is easy to find in demo video titles. The Congealed appears in a review image caption. Use Nether Kraken for weapon-spacing practice; keep The Congealed as a name note only. Video/caption evidence is not enough for final location, rewards, or ordering.

This is a player-facing search index: it keeps unsupported details out while still telling readers what the name means and what to record next.

Boss Practice Plan From Videos

Turns video footage into concrete boss practice: what to watch, what to change next, and what to record after each attempt.

Practice focus Visible material Do this now Record after the attempt
Read demo-boss tells Demo Bosses No Damage / Demo Boss Index Spend one attempt not attacking; only identify rushes, projectiles, area attacks, and safe recovery windows. Keep final-game order, rewards, and drops out of video-only notes.
Compare weapons on the same fight Nether Kraken All Weapons Compare spacing and recovery for Nightstar, daggers, and heavy weapons before choosing a punish plan. Check whether the same spacing is safe with your upgrades and timing.
Survive with short range and no sidearms Hulk Trooper daggers / level-1 / no-sidearm footage Practice one close hit, disengage, and save Joules instead of forcing contact damage. Check whether the fight is required, plus rewards and attack names, in game.
Classify attack types YCG Explains: Dodge and Parry Split attacks into rush, projectile, and area pressure, then choose burrow, jump, spacing, or defense. Record the safe answer for each boss you actually reach.
Use no-hit footage safely No-damage / hitless demo footage Extract tells and punish windows, then reduce the plan to one safe action for your own loadout. Reduce the no-hit route to one safe action that fits your own loadout.

The page uses videos for tells, dodge methods, spacing, and punish windows only; boss order and rewards are kept out of video-only claims.

Turning Boss Videos Into Guide Fields

Boss videos are most useful for tells, dodge choices, spacing, and punish windows.

Video / source What to watch Action to try Keep separate
YCG Explains: Dodge and Parry Combat can be explained as reading, evading, and countering instead of damage rushing. Structure boss pages by tell, dodge method, punish window, and failure cause. Best loadouts, attack names, or frame data for every boss.
Demo Bosses No Damage No-damage footage makes safe zones and punish timing easier to see. Add practice-first advice before recommending gear changes. Launch-build rewards, boss order, or comprehensive boss coverage.
Nether Kraken All Weapons Weapon choice changes range, recovery, and safe punish timing in the same fight. Compare the same punish window with Nightstar, daggers, and heavy weapons before changing builds. Final DPS, weapon ranking, or universal strategy.

Boss Strategy Snapshot

Keeps official counts, generator-boss framing, and video context separate.

Item Confirmed detail How to use it
Boss / mini-boss count More than 25. PlayStation Blog
Generator bosses PlayStation Blog frames the Spark Generators as guarded by ferocious bosses. PlayStation Blog
Attack reading Tell, dodge method, punish window. Combat advice
After victory Pickup, unlock, route change. Route decision
Video use Beginner and review videos inform context. Not used for rewards or stats

Questions Answered

Direct answers for the most common player questions on this topic.

How many bosses are in Mina the Hollower?

PlayStation Blog describes more than 25 bosses and mini-bosses. The guide starts with how to read attacks, when to spend Joules, and how to adjust loadouts.

PlayStation Blog

How should I prepare for Spark Generator bosses?

PlayStation Blog states that six Spark Generators are guarded by ferocious bosses. Before entering, check Joules, Plasma, equipped trinkets, weapon comfort, and the return path; after victory, track what route, NPC hint, or revisit point changed.

PlayStation Blog

OFFICIAL SCREENSHOTS

Official Screenshots

Selected lightweight screenshots from the Yacht Club Games press kit for guide pages and screen reference.

Official press-kit image 1
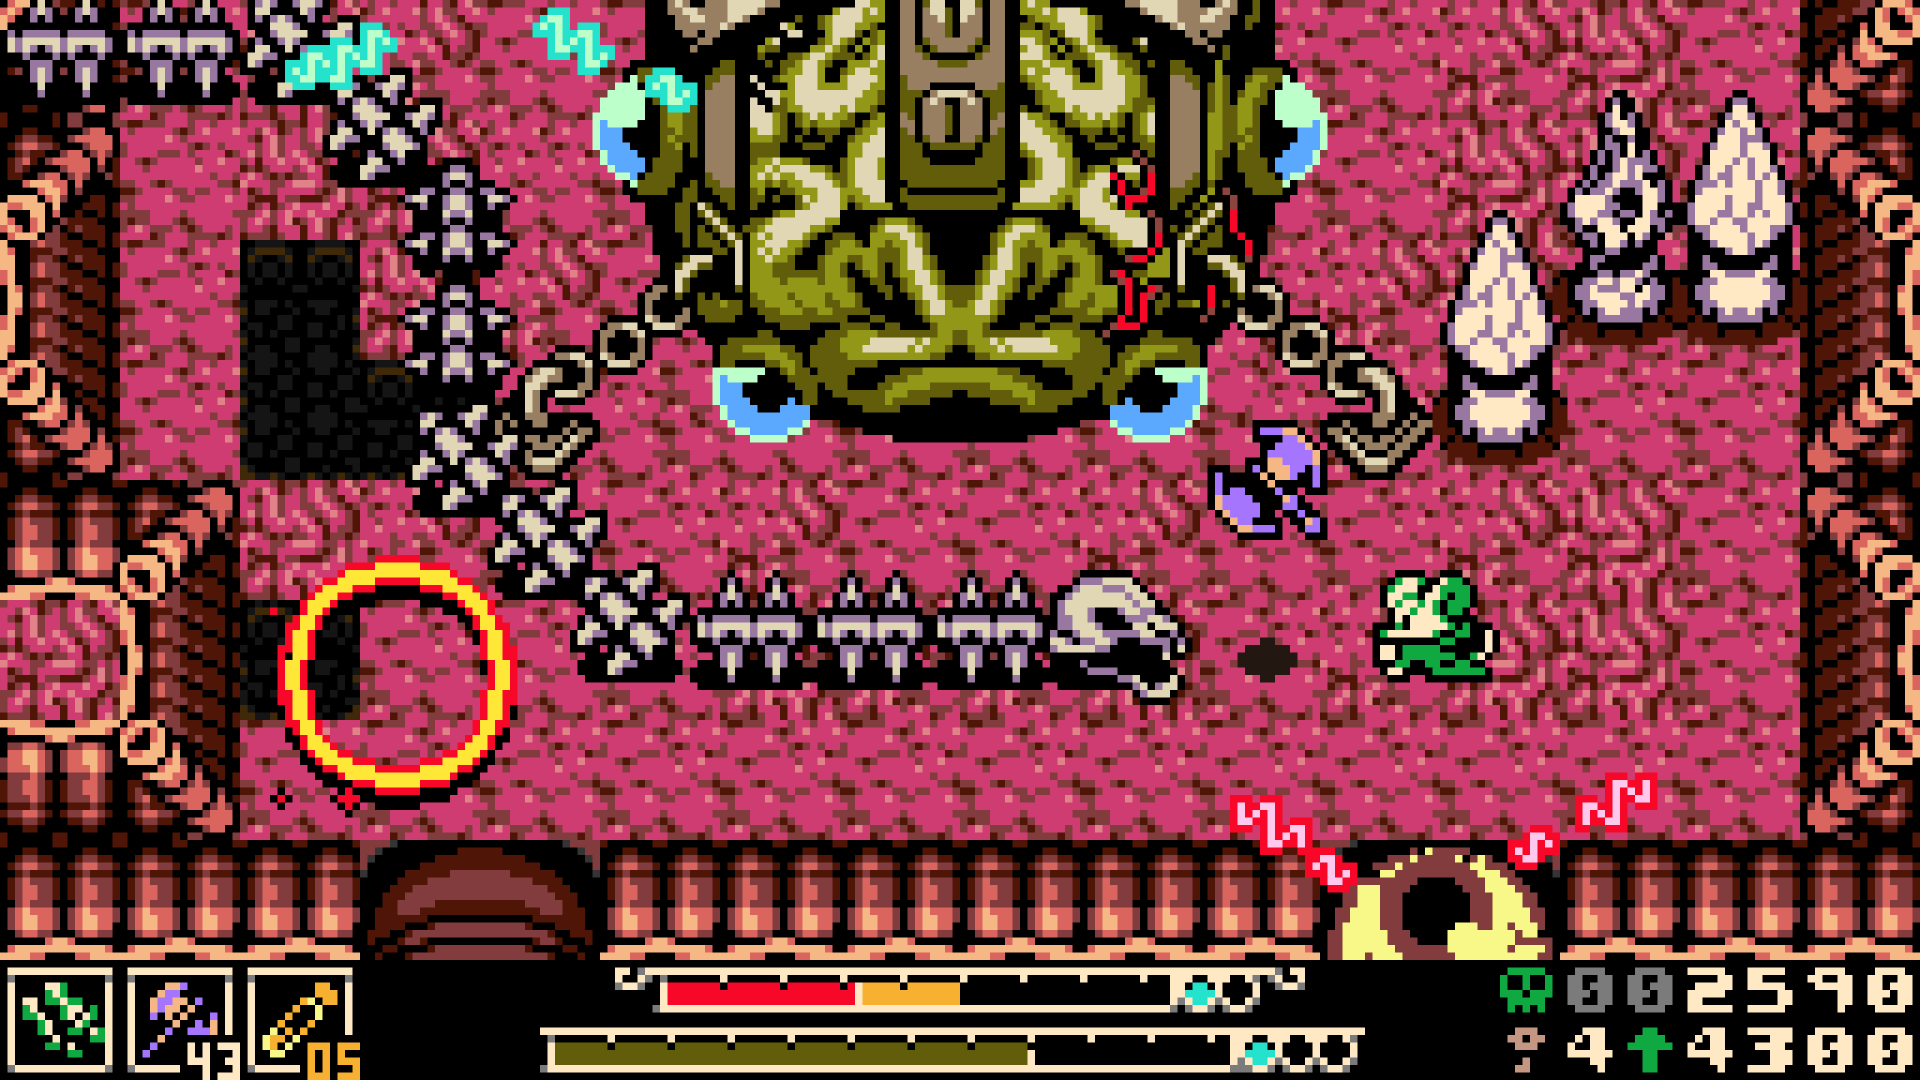
Official press-kit image #1 Official press-kit / Steam screenshot for combat framing and screen layout.
Official press-kit image 2
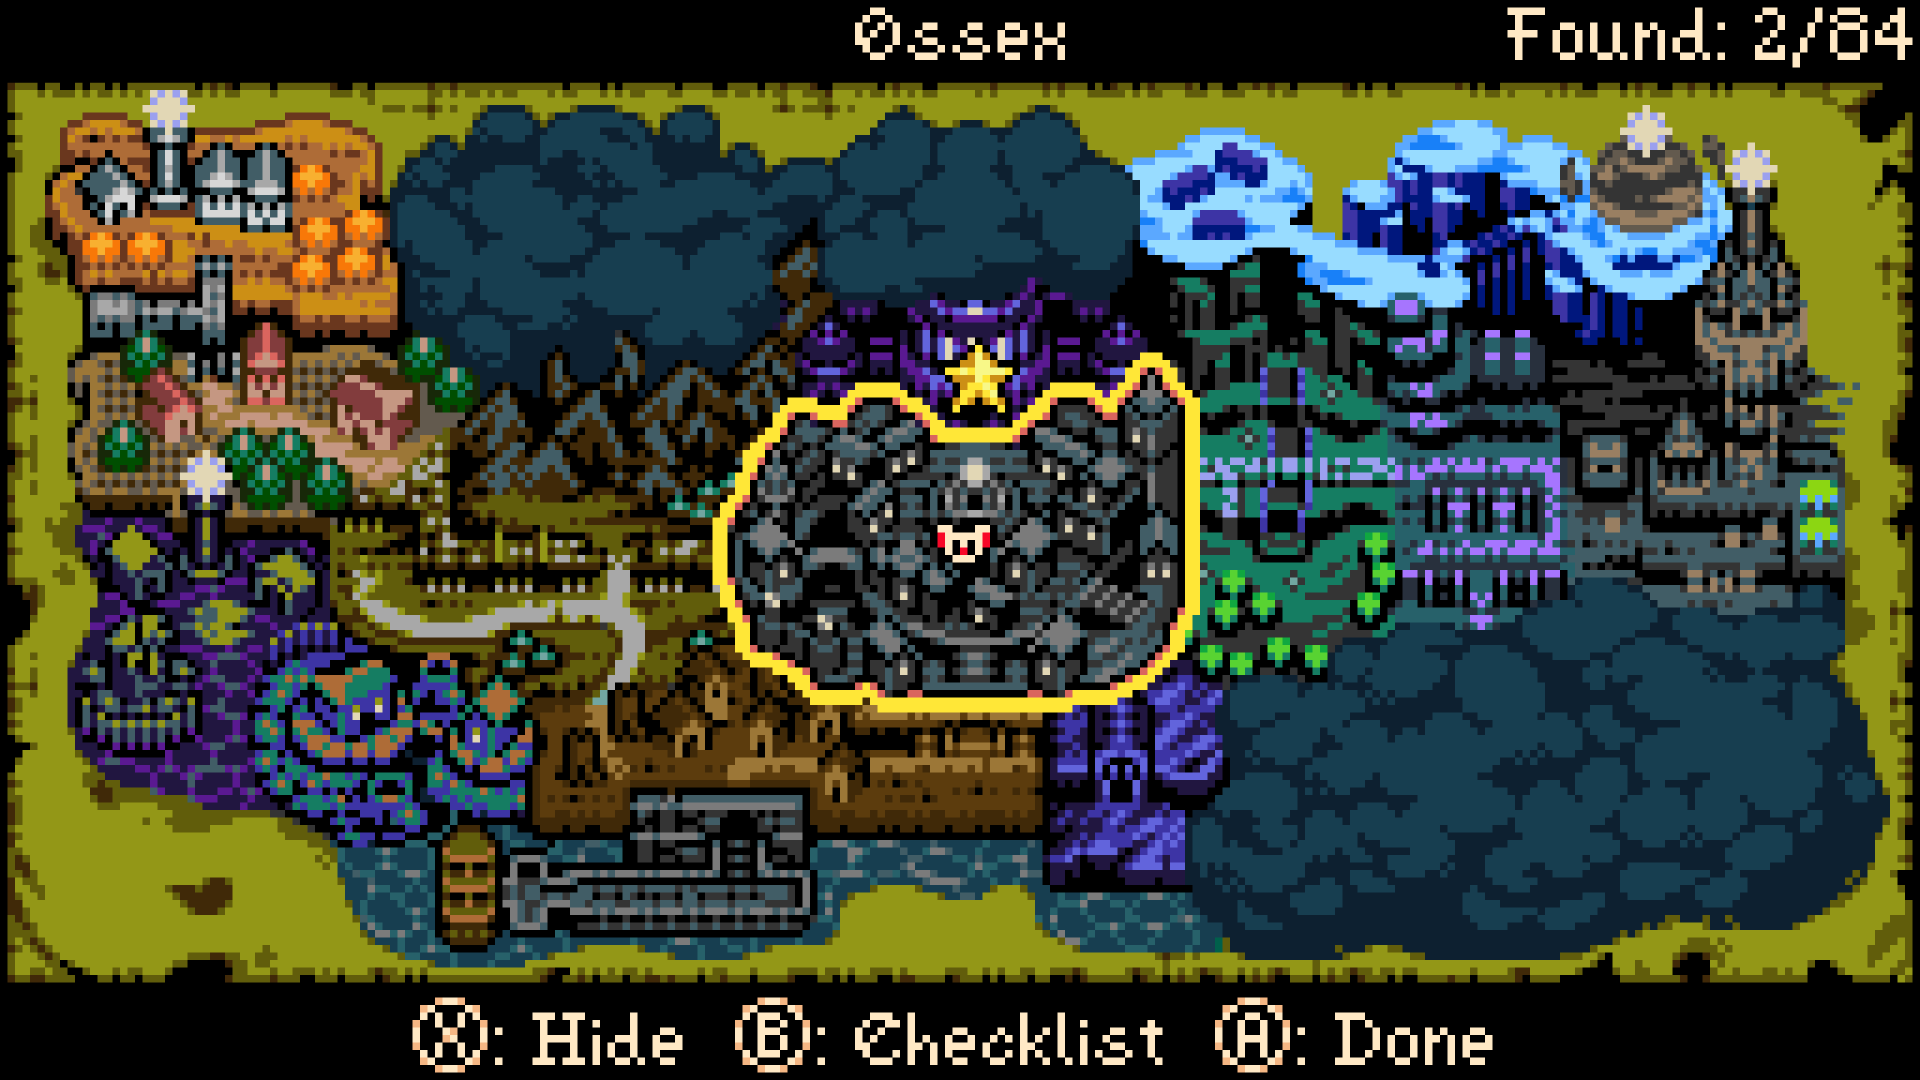
Official press-kit image #2 Official press-kit / Steam screenshot for UI and route-reference context.
Official press-kit image 3
Official press-kit image #3 Official press-kit / Steam screenshot kept as a later-game reference.

Key Takeaways

  • Official material describes more than 25 bosses and mini-bosses.
  • A useful boss note starts with tells, dodge method, punish window, loadout, and what opens after victory.

What this page covers

  • Confirmed 25+ boss / mini-boss scope
  • How to read attacks and dodge methods
  • Loadout and Joules checklist when stuck

Video and Image Sources

Use official and review videos for play feel, early routing, and buying context. Video content stays linked or embedded, not copied as subtitles or rehosted frames.

Yacht Club Games

YCG Explains: Defying Dodge and Parry

Official combat-design explainer for reading attacks, evasion choices, and defensive timing.

YouTube

SOURCES

Sources for this page

View all sources
Official

PlayStation Blog / Yacht Club Games

Official gameplay article covering the PS Blog six-Spark-Generator frame, starter weapons, 20+ hours, 25+ bosses/mini-bosses, 60 Trinkets, Underlab, Bones, Bone Up, Sidearms, Joules, and demo progress.

Video

YCG Explains: Defying Dodge and Parry

Official combat-design explainer for reading attacks, evasion choices, and defensive timing.

Community Reference

wiki.gg Bosses Page

Community reference for boss names. Use for name lookup, not as route order, reward, or attack proof.

Review / Research

Exophase Achievements / Feats

Launch-window achievement and feat reference for sidearm names, boss-name references, shop/economy hints, and modifier context. Use as a reference source, not final route or reward proof.

Community Reference

wiki.gg Mini-bosses Page

Community reference for mini-boss names. Use for name lookup, not route order or rewards.

Official

Yacht Club Games Spring 2026 / Demo Update

Official update for demo scope, progress carryover, launch window, platform context, NG+, gameplay modifiers, and fishing.

Official

Official Press Kit

Primary source for release date, ESRB E10+, overview copy, and official images/videos. Use PS Blog or official updates for boss count, trinket count, NG+, modifiers, and fishing.

Video

Game Informer - Hands-On Preview

試遊プレビュー。挖地、武器選択、骨成長などの現代的な設計文脈を確認する。

Video

Demo Bosses No-Damage Video

Boss-rhythm reference for demo fights. Use for tells and punish-window notes, not as the only strategy.

Video

Demo Boss Index Video

Demo-scope boss index note. Use for boss rhythm and fight ordering inside demo material, not final rewards.

Video

First Two Boss Battles Guide

Early boss strategy note. Use as supplemental video context, not final boss database proof.

Video

Nether Kraken All-Weapons Demo

Weapon-comparison note for how different weapons change the same boss rhythm.

Video

Hulk Trooper Daggers Level 1 Video

Challenge-run note for short-range weapon pressure, no-sidearm decisions, and resource conservation.

Video

IGN Review

High-authority review angle for purchase and difficulty context.

Video

GameSpot Review

Review context for positioning, strengths, and comparison language.

Review / Research

GameSpot Review Article

Review context for difficulty, exploration density, weapons, sidearms, trinkets, and completion-time impressions.

Review / Research

PC Gamer Review

Review context for weapon upgrades, boss readability, genre expectations, and price-range wording.

Review / Research

RPG Site - Mina the Hollower review

エリア順の自由度、burrow、Trinket、Modifiers、クリア時間のレビュー文脈。正式ルートや全Trinket位置の根拠にはしない。

Review / Research

Famitsu Japanese Review

Japanese-language source for local wording, burrowing feel, difficulty impressions, and buying-context vocabulary.