Skip to content
Mina the Hollower Wiki

TRINKETS

Mina the Hollower Trinkets and Accessories

Decide whether a trinket helps exploration, bosses, survival, or Joules support before chasing rankings.

CONTENT SNAPSHOT

6 guide tables / 2 Q&A / 11 sources

Prioritize accurate name, effect, and location data before rankings.

START HERE

What To Do First

Official facts, store details, and video observations translated into actions you can use while playing.

Pick for the problem, not the tier

Trinkets are most useful when they answer why you are failing: spikes, falls, Joule shortage, or missed healing.

  • Use defense or healing help for repeated hits.
  • Look for movement or terrain help during exploration.
  • Prioritize Joule support for Sidearm-heavy play.

Sources: PS Blog / official 60-trinket scope

Build three Underlab loadouts

Treat the Underlab as a loadout station. Keep separate exploration, boss, and safety setups.

  • Exploration favors movement, terrain, and pickup value.
  • Boss setups answer your repeated damage source.
  • Safety setups reduce failed heals and panic hits.

Sources: PS Blog / Trinket video observation

Read individual effects by source

Launch-window Trinket names and effects come from mixed sources. Keep official scope separate from video or list notes.

  • Treat the official 60 count as the stable baseline.
  • Cross-check individual names across sources.
  • Read locations alongside hands-on notes.

Sources: official material / Mobalytics / YouTube observation

Practical Guide

Trinkets shape how Mina survives, explores, and handles bosses. Official material says there are 60, and PlayStation Blog frames them as stackable passive abilities managed at the Underlab, so the useful question is what each one helps you do.

How to judge a trinket

When you find a trinket, do not rank it in isolation. Ask whether it helps exploration, reduces damage, improves a short boss punish window, or supports a specific weapon/sidearm style.

  • Classify the effect as survival, routing, damage, or resource support.
  • Remember both the area name and room clue where it was found.
  • Rank by purpose, not one universal score.

How to choose a trinket

Connect each trinket to the problem it solves. A good choice either keeps Mina alive longer, opens a route, improves a short boss window, or supports a weapon and sidearm plan.

  • Use beginner picks when they make mistakes less costly.
  • Use boss picks when they solve a specific pattern.
  • Use exploration picks when they improve routing or collection.

QUICK ANSWERS

Trinket Answers First

Separates the official 60-count fact from practical use, source labels, and launch-window list strength.

Question Current answer How to use this
How many are there? Official material states 60 trinkets / accessories. Press kit / PlayStation Blog.
Where are they equipped? They are passive abilities equipped and removed at the Underlab. PlayStation Blog; slot and effect details follow in-game text.
Which should I prioritize? Survival if you die often, exploration if stuck, punish/heal/sidearm support if a boss blocks you. Use-case guide; no best-in-slot ranking yet.
Are location lists reliable? Launch-window lists are cross-check references until video or in-game confirmation supports each entry. Mobalytics and similar material is secondary.
Are they required for progression? The guide avoids treating trinkets or special equipment as mandatory progression gates unless a source proves it. Official context; room clues and existing tools come first.

Trinkets are expanded by name, effect, location, use case, and pairing only when evidence is clear.

Primary Evidence

What To Do After Picking Up a Trinket

How to judge one trinket before treating the 60-item scope as a checklist.

Step Check Use when Source / basis
1. Effect Classify it as survival, exploration, resource, sidearm, or boss-punish support. Equip it when that category matches your current problem. Official 60 count / PS Blog
2. Equip location Use the Underlab to keep exploration and boss sets separate. Do not judge route utility and boss utility with the same score. PlayStation Blog
3. Pairing Check weapon range, Joules spending, and the damage source you keep taking. Short-range weapons may need safety; sidearm builds may need Joules support. Official weapon / sidearm info
4. Record Track name, effect, location, and where it actually helped. Launch lists are easier to use when purpose and verification state are separated. Press kit / Mobalytics material

This page favors problem-solving loadouts over ranking language.

Trinket Options by Use Case

Turns the 60-row trinket list into practical choices for exploration, bosses, resources, and mistake recovery.

Goal Option trinkets How to use them Watch out
Stabilize blind exploration Twill Weave / Evasion Powder / Pit Preserver / Bell of Grace Reduce hit, pit, water, and death-loss pressure while learning room layouts. Damage may stay low, so swap in offense if bosses start taking too long.
Build around Joules and sidearms Smelling Salts / Windfall Charm / Draining Beastium / Joule Syringe Track sidearm hits, Joules refills, and Plasma conversion as one resource loop. High-spend options should not leave you empty before a boss.
Boss-room insurance Proto Spark / Valor Medallion / Plasma Funnel / Counter Vial Use as options for first attempts, interrupted healing, and Vial safety. Locations and trigger details are source notes, not guaranteed route data.
Movement and revisit routing Wallower's Gauntlets / Spring Heels / Bellows Bustle / Tunneling Codex Recheck walls, platforms, aerial routes, and chained-burrow rooms after new tools. Treat as exploration options, not required-route claims.
Bones collection Deboning Wand / Stolenoid / Watchful Eye / Glutton's Jug Separate farming, safer pickup, clean-kill rewards, and enemy-count conditions. Use as collection and safety options, not as timed farming routes.
High-risk offense Chain Capacitor / Uranium Bracelet / Reckless Beastium / Desperation Bonnet Use only when the condition is clear: chain hits, increased incoming damage, or low health. These are conditional options, not rankings.

Option names include launch-list notes. Official sources confirm the 60-trinket scope; verify individual effects and locations when you find them.

Trinket Use Guide

Organizes the official count, equipment location, and player use cases.

Item Confirmed detail How to use it
Total 60 trinkets / accessories. Official
Equip location Trinkets can be equipped and removed at the Underlab. PlayStation Blog
What to note Name, effect, location, use case, paired weapon/sidearm. Reader data
Use cases Beginner, exploration, boss, build. Player choice
Community info Effect text and locations from community pages need cross-checking. Use only as a reference

How To Judge a Trinket After Pickup

Use this before reading the 60-row table so you know what to do with a trinket after pickup and what still needs in-game checking.

Player question Safe answer Action after pickup Keep separate
Officially confirmed Official material confirms 60 trinkets / accessories. PlayStation Blog also confirms trinkets can be equipped and removed at the Underlab. Used as the baseline fact for the trinket page. Start from the 60-count scope and Underlab swapping before choosing by use case.
Mobalytics launch list Names, effects, and location notes are reorganized into the 60-row player-facing table. Used for survival, routing, damage, and resource-use tags. Read each row for what the trinket helps you decide while playing.
Crowned Owl trinket video Useful as a launch-window overview of known trinket names and visible effects. Used to compare visible effects and decide whether a trinket supports survival, routing, damage, or resources. Read as video-backed context for choosing what to equip.
Magic Mad Man demo collection video Shows demo-scope pickup routing and room reading. Used as demo practice material for trinket rooms. Keep it separate from launch-build full collection routing and final placement.

Use this table to choose trinkets by purpose first: survival, routing, damage, resource management, or mistake recovery.

Quick Uses for Trinkets You Find

Use this table to decide whether a trinket helps exploration, bosses, resource management, or mistake recovery.

Trinket Effect summary Pickup note and best use
Lace Glove Raises Attack by one level. Southern Outskirts, Ack and Dak source note. Early damage baseline.
Twill Weave Raises Defense by one level. Early Nox's Bayou pickup. Good for players taking frequent hits.
Smelling Salts Raises Sidearm level by one. Eastern Heath / Frozen Pass. Check when building around sidearms.
Brisk Brew Improves movement speed and grants a short burst after landing a hit. Ossex / Lady Susan's Trinket Bazaar. Good for exploration tempo.
Seismic Belt Adds a damaging pulse while burrowing. Ossex / Trinket Bazaar. Turns burrowing into an offensive option.
Plasma Funnel Speeds up Plasma Vial use and protects Vials on hit. Ossex / Trinket Bazaar. Recovery safety pick.
Deboning Wand Greatly increases Bones from enemies, with harder collection behavior. Ossex, Elizabeth source note. Bones-farming option.
Steady Soles Normal movement on rough surfaces plus knockback resistance. Ossex chest after Attic. Exploration comfort pick.
Valor Medallion Allows slight movement while healing and protects Plasma on hit. Ossex, Furl and Roma source note. Boss recovery helper.
Bell of Grace Can preserve Spark or Bones after death. Ossex, Frayd source note. Death-risk insurance.
Windfall Charm Joules can restore Plasma, and sidearm hits can produce more Joules. Eastern Heath, Lad source note. Sidearm economy pick.
Chain Capacitor Boosts damage while attacks connect; missing resets the chain. Eastern Heath / Choppe Shoppe. Advanced consistency pick.
Proto Spark Prevents death once, then resets after dying. Queensbury Crypt, The Duke source note. First-attempt boss insurance.
Iron Lung Extends burrow time, including underwater. Nox's Bayou, Mock Moon source note. Exploration and evasion pick.
Wallower's Gauntlets Allows Mina to burrow into walls. Kindlewood chest. Potential route-changing exploration pick.
Willow the Wisp Summons an attacking wisp after taking damage. Eastern Heath / Poppit note. Helps convert mistakes into counter-pressure.
Helio the Wisp Summons a healing wisp after taking damage. Western Wilds / Poppit note. Recovery support for high-pressure areas.
Keri the Wisp Lets Mina extend her fall with an aerial jump input. Southern Outskirts / Poppit source note. Platforming safety pick.
Spike Spurs Reduces spike damage and knockback. Knight's Rest / Spike Vault note. Bring it to spike-heavy rooms.
Desperation Bonnet Improves offense and sidearm efficiency at low health. Mourner's Mile tomb note. High-risk boss practice option.
Stolenoid Pulls nearby drops toward Mina. Queensbury Crypt / Belvedere note. Safer Bones and Joules pickup.
Fly Bait Can attract friendly flies after kills. Queensbury Crypt / Midden source note. Room-clearing support.
Primed Vial Pouch Adds two Plasma Vial slots. Southern Outskirts / Basement note. Longer exploration insurance.
Flame Guard Blocks one fire or explosion hit, then returns after cooldown. Western Wilds / Molten Foundry note. Fire-zone safety pick.
Spark Catcher Adds a Spark Container and lets attacks recover lost Sparks. Backwaters / Pinky shop note. Good when death penalties feel stressful.
Evasion Powder Extends invulnerability after taking a hit or resurfacing. Backwaters / ladder route note. Beginner-friendly safety pick.
Vascular Syrup Turns immediate damage into a short draining window. Nox's Bayou / Big Lagoon note. Gives time to heal during boss pressure.
Pit Preserver Bounces Mina back from pits or water with reduced loss. Nox's Bayou / Kindly Hag shop note. Useful in swamp and platforming rooms.
Tumbling Tutu Changes an aerial second action into a spin/bounce attack. Nox's Bayou / Bayou Band source note. Air-route and bounce practice.
Glutton's Jug Fills after defeating 50 enemies while equipped. Backwaters / Buffo note. Track during long routes or enemy-heavy rooms.
Uranium Bracelet Greatly increases damage dealt by Mina and by enemies. Nether Kraken source note / expanded Bazaar note. Expert burst option.
Bubble Ring Rapid attacks can build a single shield layer. Expanded Trinket Bazaar note. Check with fast weapons.
Shock Flint Adds a ranged electric shot while health/Plasma is full. Expanded Trinket Bazaar note. Rewards clean full-resource play.
Intravenous Vial Automatically uses a Plasma Vial under conditions. Expanded Trinket Bazaar note. Useful for players who miss manual heals; best read as a mistake-recovery option.
Pneumatic Armlet Throws objects faster, farther, and harder. Ossex / Music Hall, Willis source note. Check in rooms where throwing matters.
Warding Beastium Reduces incoming damage but weakens healing. Ossex / Evra-area note. Defensive long-fight option.
Reckless Beastium Boosts attacks after healing, while making incoming damage heavier. Mirror's End / Dr. Naught source note. High-risk short-window burst pick.
Draining Beastium Makes sidearms hit harder but cost more Joules. Kindlewood / Madd House note. Boss burst sidearm pick.
Starving Beastium Pushes Vials toward Joules at the cost of weaker healing. Mina's Grave / hidden zone note. Sidearm resource-conversion pick.
Volatile Beastium Enemies can drop bombs after defeat. Train from Bone Beach to Nox's Bayou purchase note. Useful for room clears, risky around hazards.
Burning Beastium Creates fireballs after taking damage; jump or burrow to avoid getting caught. Coltrane Peak note. Reactive damage option for situations where the player can avoid self-pressure.
Dummy Cache Places a Joule-filled decoy with the heal input, drawing enemy attention. Western Wilds / post-Coltrane Peak note. Positioning tool for dangerous rooms.
Blinking Glass Can avoid damage and grant brief invincibility. Coltrane Peak / Mirren note. Mistake-insurance option.
Watchful Eye Grants extra Bones after defeating enemies without taking damage. Coltrane Peak / Rupert purchase note. Farming option for clean routes.
Bridge Weaver Creates help when stepping off an edge. Astral Orrery chest note. Gap-crossing and secret-route support.
Vial Salvo Fires missiles while using a Vial; missile hits can restore Plasma. Astral Orrery / Tubert purchase note. Recovery plus offense option.
Dodging Pendulum A jump input just before damage can trigger evasive invulnerability. Radiant Manor / Mimic encounter note. Reaction-based boss tool.
Spring Heels Jumping after landing grants a longer, higher jump. Radiant Manor / Trooper purchase note. Platforming and exploration tool.
Oozing Organ Leaves damaging ooze behind while burrowing. Kindlewood / Madd House note. Turns burrow routes into pressure.
Voltaic Guard Blocks one lightning hit, then returns after a cooldown. Kindlewood / Madd House note. Lightning-area safety option.
Repulsing Root Drops a Mourndrake when hit, pushing back and damaging enemies. Septemburg / Corvidden purchase note. Crowd-pressure insurance.
Lightning Grip Calls down lightning after healing or under some hit conditions. Septemburg / Campfire Kids source note or expanded Bazaar note. Burst-after-heal option.
Dead Leaf Standing still can make Mina statue-like until she moves. Western Wilds / Leaf source note. Stealth-style exploration option.
Niter Belt Creates radial explosions when surfacing from burrow. Sandfalls note. Burrow-entry combat option.
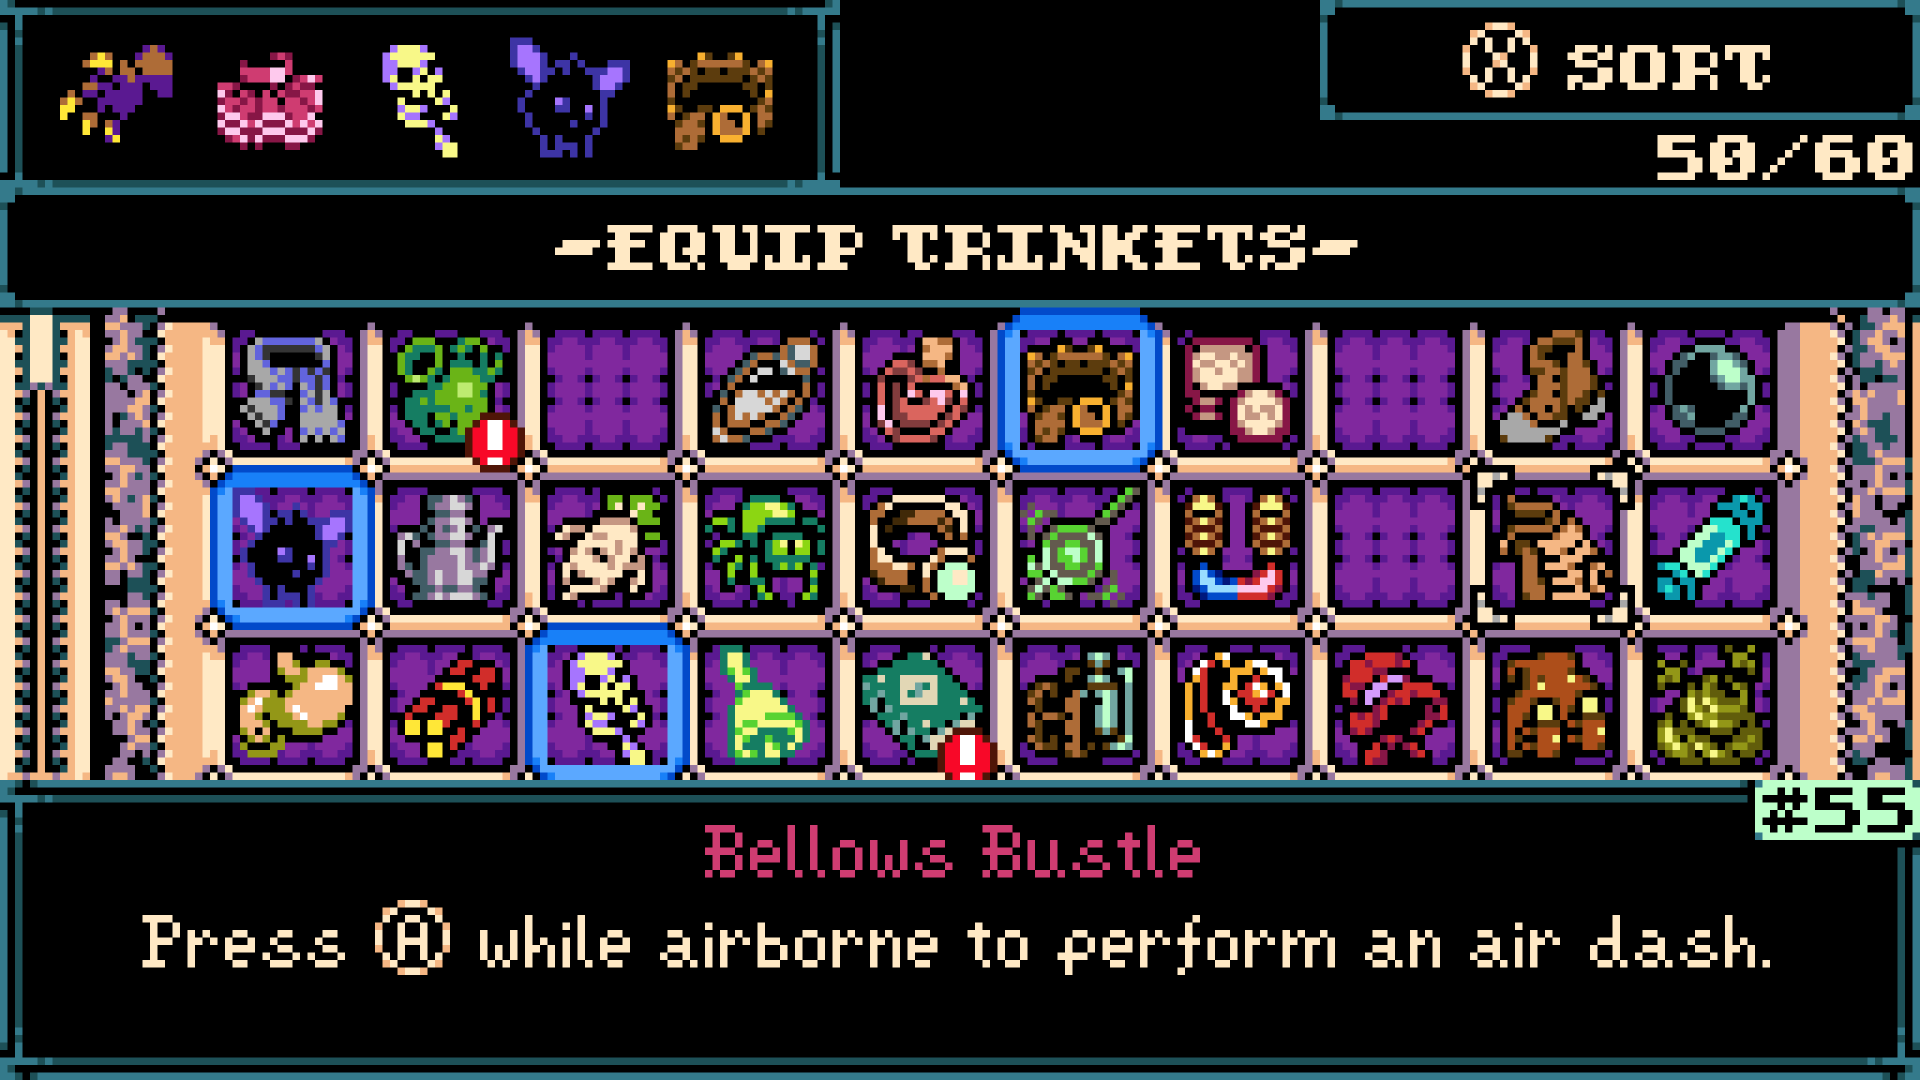
Bellows Bustle Adds an aerial dash-style movement option. Blaise race source note. Advanced movement and platforming option.
Tunneling Codex Lets Mina chain burrows without landing first. Sandfalls / Ring Dive Parlor note. Advanced burrow-routing pick.
Joule Syringe Sidearms can restore Plasma; when out of Joules, sidearms can spend health instead. Bone Beach chest note. Major high-risk sidearm-economy option.
Polyp Lamp Glows dimly and reduces damage in dark places. Sandfalls shop note. Dark-area exploration safety pick.
Thermal Pack Raises attack after death or leaving the Underlab, then cycles through a weaker and stronger state. Ossex / Miner's Den, Fiancé source note. Retry and long-route option.
Counter Vial Counters if Mina is hit while preparing a Vial. Expanded Trinket Bazaar note. Useful when healing gets interrupted.

Individual locations are launch-window guide notes. When you find one, verify the effect, trigger, and room wording in your own save.

How Trinket Videos and Lists Are Used

Third-party trinket videos and lists are useful notes, but official facts and individual locations stay separated.

Video / source What to watch Action to try Keep separate
Crowned Owl Trinkets Launch-window coverage helps compare known names and visible effects. Sort each pickup by survival, routing, damage, or resource support. The final 60-trinket list, locations, or exact values.
Magic Mad Man Demo Trinkets Demo routing shows how trinket pickup rooms can be read. Keep as demo-scope routing material. Launch-build full collection routing.
Mobalytics Trinkets A launch-window list helps compare visible effects, purpose, and pickup context. Use to decide whether a trinket supports survival, routing, damage, or resources. Official confirmation or a trinket tier list.

Questions Answered

Direct answers for the most common player questions on this topic.

How many trinkets are there?

Official materials say there are 60 trinkets/accessories. Treat each one by role: survival, exploration, damage, or resource support.

Official sources, PlayStation Blog

Which trinkets should I try first?

Start from the problem you are trying to solve: survival, exploration, boss punish windows, or sidearm/Joules support. Official material confirms 60 trinkets, and PlayStation Blog says they are stackable passive abilities managed at the Underlab.

Official sources, PlayStation Blog

OFFICIAL SCREENSHOTS

Official Screenshots

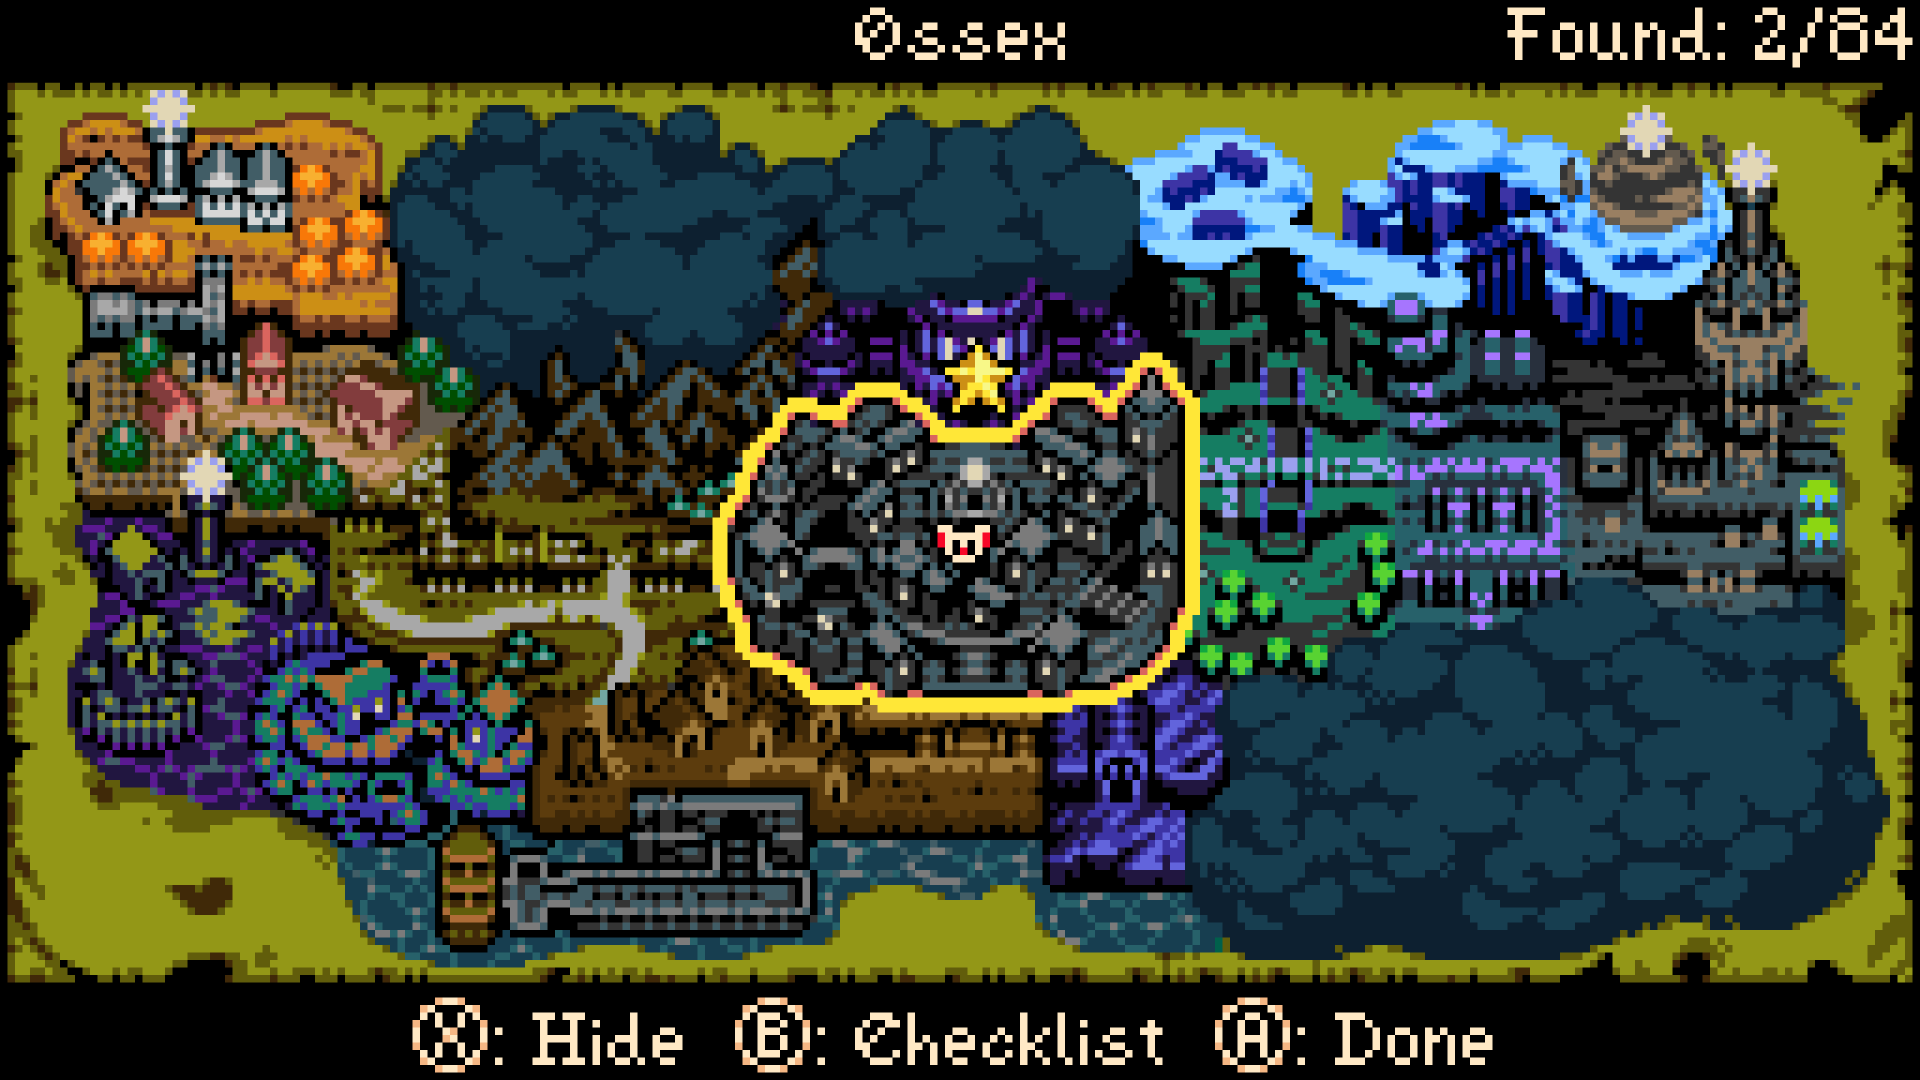
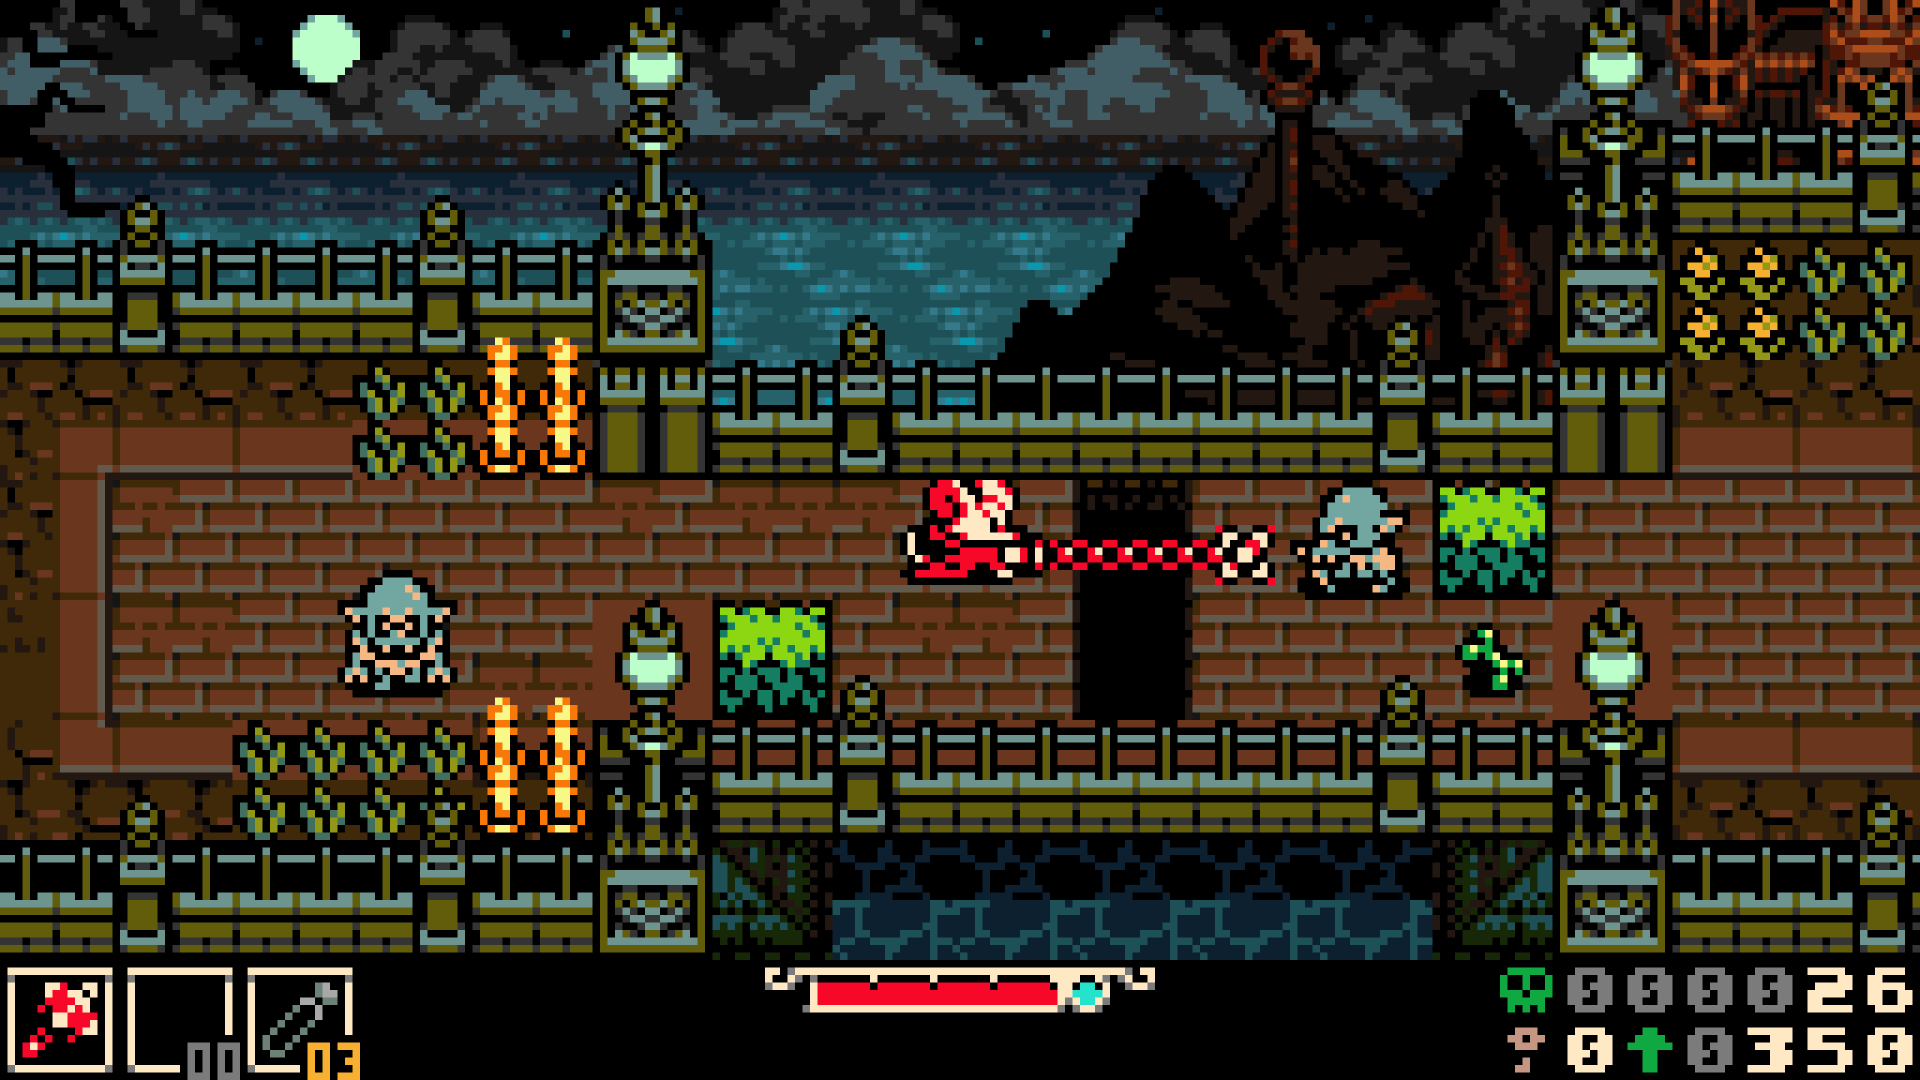
Selected lightweight screenshots from the Yacht Club Games press kit for guide pages and screen reference.

Official press-kit image 1
Official press-kit image #1 Official press-kit / Steam screenshot for UI and route-reference context.
Official press-kit image 2
Official press-kit image #2 Official press-kit / Steam screenshot useful for localization and menu references.
Official press-kit image 3
Official press-kit image #3 Official press-kit / Steam screenshot for exploration and baseline screen reference.

Key Takeaways

  • Official material says the game includes 60 trinkets/accessories.
  • Trinkets matter because each one can change survival, exploration, boss safety, or resource pressure.

What this page covers

  • 60-trinket official scope
  • Underlab equipment rules
  • Beginner, exploration, and boss use cases

Video and Image Sources

Use official and review videos for play feel, early routing, and buying context. Video content stays linked or embedded, not copied as subtitles or rehosted frames.

Crowned Owl

Crowned Owl Trinkets Video

Trinket research video for comparing visible names, effects, and collection routes with the in-game list.

YouTube

SOURCES

Sources for this page

View all sources
Official

PlayStation Blog / Yacht Club Games

Official gameplay article covering the PS Blog six-Spark-Generator frame, starter weapons, 20+ hours, 25+ bosses/mini-bosses, 60 Trinkets, Underlab, Bones, Bone Up, Sidearms, Joules, and demo progress.

Official

Official Press Kit

Primary source for release date, ESRB E10+, overview copy, and official images/videos. Use PS Blog or official updates for boss count, trinket count, NG+, modifiers, and fishing.

Review / Research

Mobalytics All Trinkets List

Launch-window trinket list based on launch review coverage. Use as a launch reference note until each pickup is checked in game.

Community Reference

wiki.gg Trinkets Page

Community reference for trinket names and effects. Use it to compare entries while treating in-game text as the source of truth.

Video

Crowned Owl Trinkets Video

Trinket research video for comparing visible names, effects, and collection routes with the in-game list.

Video

Demo All Trinkets Video

Demo-scope trinket-route reference. Use it for demo pickup practice, while the full 60-trinket coverage stays in the trinket page.

Video

Game Informer - Hands-On Preview

試遊プレビュー。挖地、武器選択、骨成長などの現代的な設計文脈を確認する。

Review / Research

GamesRadar+ - Mina the Hollower review

初期3武器、Plasma/healing、Trinket/build、NG+、おおよそのクリア時間のレビュー文脈。数値やビルド強度は公式事実として扱わない。

Review / Research

RPG Site - Mina the Hollower review

エリア順の自由度、burrow、Trinket、Modifiers、クリア時間のレビュー文脈。正式ルートや全Trinket位置の根拠にはしない。

Review / Research

GameSpot Review Article

Review context for difficulty, exploration density, weapons, sidearms, trinkets, and completion-time impressions.

Review / Research

Famitsu Japanese Review

Japanese-language source for local wording, burrowing feel, difficulty impressions, and buying-context vocabulary.