Skip to content
Mina the Hollower Wiki

SIDEARMS

Mina the Hollower Sidearms Guide

Check sidearm roles, Joules spending, hit reliability, and boss/exploration matchups.

CONTENT SNAPSHOT

9 guide tables / 2 Q&A / 16 sources

Save Joules when your main weapon can solve the room safely.

START HERE

What To Do First

Official facts, store details, and video observations translated into actions you can use while playing.

Check hit certainty before firing

Use Sidearms when they solve a specific problem: hard-to-reach enemies, dangerous rooms, or clean boss windows.

  • Do not spend on enemies regular weapons handle.
  • Wait for angles that are hard to miss.
  • Keep one use for a room you cannot safely cross.

Sources: PS Blog / YCG Sidearms video

Save Joules for bosses

Because Sidearms depend on Joules, overspending in normal rooms reduces your boss options.

  • Remember Joule Jar routes.
  • Use breakables and enemies as refill planning.
  • Spend only when the risk of saving is higher.

Sources: YCG economy video / PS Blog

Read official examples by job

Volt Hatchet, Gyro Dagger, and Recall Disc become easier to use when you think in lines, return paths, and escape routes.

  • Use thrown lines against enemies you cannot approach.
  • Respect return-path danger on boomerang-style attacks.
  • Plan an exit before crossing hazard pressure.

Sources: PS Blog / YCG Sidearms video

Practical Guide

Sidearms expand Mina's combat options and are tied to Joules in PlayStation Blog coverage. Use them when normal attacks are too risky, a boss window is short, or a room asks for utility beyond the main weapon.

How to use sidearms

Use sidearms for enemies that are unsafe to approach, boss windows that are too short for normal attacks, or exploration cases that normal weapons cannot solve.

  • Spend only when the hit is reliable, the room is unsafe, or the saved health matters.
  • When Joules are low, use the main weapon first and look for Joule Jars or breakables.
  • Separate combat and exploration value.

Known sidearms and Joules decisions

Official examples include Volt Hatchet, Gyro Dagger, and Recall Disc. Treat Volt Hatchet as a shockwave option, Gyro Dagger as a returning projectile, and Recall Disc as a danger-crossing explosive tool until deeper per-fight notes are available.

  • Spend Joules when the hit is reliable or the room is unsafe.
  • Match each sidearm to a specific boss attack pattern before spending Joules.
  • Split recommendations into early, exploration, and boss use.

QUICK ANSWERS

Sidearm Answers First

Sidearms are explained through Joules value, use case, and death-risk decisions.

Question Current answer How to use this
What are sidearms? Secondary combat tools used alongside weapons for unsafe enemies, short windows, and hard-to-reach targets. Official material / PS Blog.
Which examples are public? Volt Hatchet, Gyro Dagger, and Recall Disc are visible in official/video context. PS Blog / YCG videos; full locations and costs are not claimed.
How do Joules fit? Track sidearm use with Joules spending and avoid entering bosses empty. PS Blog; read refill locations only when a source gives them.
When should I use one? Dangerous close enemies, airborne/ranged targets, short boss recovery, or cramped-room safety. Video observations; sidearms are situational tools.
What happens on death? PS Blog describes sidearms as field-found tools that spend Joules and are lost on death. PlayStation Blog; this answer does not claim exact locations or costs.

Sidearms are expanded by name, arc, Joules, use case, and death risk separately.

Primary Evidence

Sidearm Spending Manual

A Joules-first decision table for whether using a sidearm now is worth it.

Situation Spend Save Source / basis
You cannot approach safely Use Volt Hatchet or Gyro Dagger to keep distance. Save if Nightstar spacing already solves the room. PlayStation Blog
You need to cross a danger line Consider a breakthrough/explosion tool such as Recall Disc. Save if normal movement crosses safely. PlayStation Blog
A boss opening is short Spend only on reliable recovery windows. Save while you still cannot read the pattern. YCG Economy / boss video observations
After dying Check field pickups, breakables, and Joule Jar notes. Do not spam rare tools before knowing replacement points. PlayStation Blog

Good sidearm play includes knowing when not to spend Joules.

Five-Second Check Before Using a Sidearm

Sidearms are most valuable when they solve a real problem. Check Joules and death risk before spending.

Question Use it when Save it when
Can your main weapon reach safely? The enemy is unsafe to approach or out of comfortable weapon range. Your current weapon already handles the enemy safely.
Is the hit window readable? A boss is in recovery, the room is wide, or the enemy briefly stops. You are still learning tells and likely to miss.
Do you have Joules left? You know a Joule Jar or safe refill route. A boss is next and you do not know the refill route.
Can you afford death loss? You recorded replacement pickups or alternate sidearms. You are on a blind route with no recovery notes.
Is the role clear? It solves range pressure, return-path damage, danger crossing, or a short punish window. You are spending only because you want the room over faster.

This is an action checklist based on official Joules and death-risk rules, not a cost or location table.

Joules Spending and Sidearm Saving Checklist

Sidearms are powerful, but Joules cost and death loss make spending decisions matter.

Situation Decision Reason
A boss door is likely nearby Save Joules Blind boss attempts have fewer guaranteed hits until tells are learned.
Safe normal enemy Use the main weapon Sidearms matter most when they reduce real damage risk or solve a room faster.
Enemy is unsafe to approach Consider Volt Hatchet or Gyro Dagger Pressure from range can reduce contact damage and bad trades.
Need to cross a hazard or enemy line Consider Recall Disc Official wording frames it as movement through danger plus an explosion.
Found a Joule Jar or breakable stash Record the location It becomes a refill route after spending or dying.
After a death Check replacement routes Sidearms can be lost on death, so pickup notes matter more than raw ranking.

This page uses official Joules rules for spend/save decisions; exact costs and refill efficiency stay out of the guide until there is clear source support.

Sidearm Use Cases by Room Problem

Choose sidearms by the problem in front of you instead of memorizing names in isolation.

Problem Use / save Why Verify while playing
Enemy is unsafe to approach Consider Volt Hatchet or Gyro Dagger. They let Mina apply pressure while reducing contact-range risk. PS Blog sidearm examples, YCG Sidearms video.
Wide room with scattered threats Watch the Gyro Dagger return path. Mina can keep moving while the outbound and return paths create pressure. PS Blog Gyro Dagger description.
Need to cross hazards or an enemy line Consider Recall Disc as a crossing tool. Official wording frames it as warping through danger and exploding. PS Blog Recall Disc description.
Boss punish window is short Spend only on reliable hits. Sidearms cost Joules and can be lost on death, so blind spending is risky. PS Blog / YCG Economy video.
Joules are low Use the main weapon and look for Joule Jars or breakables. Saving resources for hazardous rooms or boss windows keeps options open. PS Blog Joules / Joule Jars detail.
Route ahead is unknown Save the sidearm and record pickup locations. Death loss makes replacement routes more useful than raw rankings. PS Blog death-loss rule.

This table does not invent unconfirmed sidearm names or fixed locations; it turns official examples into player decisions.

Sidearm Decision Table

Officially named sidearms and Joules/death rules translated into room and boss decisions.

Situation Best sidearm Why it helps When to save it
Enemies unsafe to approach Volt Hatchet The arc and impact shockwave let Mina pressure enemies without walking into contact range. Save it when Joules are low and a boss or hazardous room is likely next.
Wide horizontal space Gyro Dagger The returning path can pressure enemies while Mina keeps moving. Save it when enemies are too fast for the return path to matter.
Crossing a danger line Recall Disc Officially framed as warping through danger and exploding, so treat it as utility plus burst. Save it when normal movement already solves the room safely.
First boss attempt Hold or use only on guaranteed hits Sidearms use Joules and can be lost on death. Do not spend while you are still learning the first tells.
Exploration refill Breakables / field pickups Official material points players toward more sidearms and Joule Jars in the field and breakable objects. Before a boss, refill from safe rooms instead of entering empty.

Official Sidearms and Joules Rules

Names, behavior, Joules use, and death-risk rules confirmed by PlayStation Blog.

Item Officially confirmed detail Player use
Volt Hatchet Arcs forward and creates a shockwave on impact. Use against clustered enemies, awkward elevation, or threats you do not want to approach.
Gyro Dagger Returns to Mina like a boomerang. Throw from safety and keep moving while the return path creates pressure.
Recall Disc Warps through danger and explodes. Treat as mobility plus burst damage for crossing a threat line.
Joules Sidearms use Joules; Joule Jars are called out. Save for reliable hits, dangerous rooms, and boss punish windows.
Death risk Sidearms are lost on death; more can be found in the field or broken objects. Track where replacements appear and avoid wasting rare tools in blind routes.
Other role types Other sidearms can throw, dash, block, summon, or fish things up. When the name is unknown, remember the role: throw, cross, block, summon, or recover.

This table focuses on officially supported behavior and Joules decisions; locations and exact costs are not used as advice here.

Sidearm Name and Use-Case Index

Names visible across official examples, wiki.gg, Exophase, and Mobalytics, translated into use cases players can act on.

Name Main source What sources show Use case How this page uses it
Volt Hatchet PS Blog / wiki.gg Official PS Blog example; wiki.gg adds shockwave and wall/elevation use notes. Clustered enemies, awkward elevation, and threats you do not want to approach. Use the name and role; do not use pickup rooms, exact cost, or UI text as current advice.
Gyro Dagger PS Blog / wiki.gg Official PS Blog example; wiki.gg describes returning, multi-hit, and redirect behavior. Wide rooms, safe moving pressure, and return-path hits. Use the name and core role; keep boss-specific value in the fight tables.
Recall Disc PS Blog Official PS Blog example framed as warping through danger and exploding. Cross a threat line, reposition, or convert a short opening into burst damage. Use the official name and safe use case; do not turn range or hazard interactions into hard rules.
Deflector Parasol Mobalytics / Exophase Mobalytics mentions a Parasol pickup and Exophase names Deflector Parasol. Cross a long gap, push enemies into pits, or protect Mina while repositioning. Use as a name and use-case note; exact effect, cost, and room source are not claimed.
Fog Thrower / Gnawing Ghosts / Mist Jar Exophase Exophase-backed names. Treat as feat-backed combat-tool terms until category is confirmed. Check whether they solve area control, summon pressure, visibility, or safety. Use as search aliases; check role first: area control, summon pressure, visibility, or safety.
Bounding Bomb / Drill Driver Exophase Exophase-backed combat-tool names. Check for explosive, breakthrough, enemy-line, or room-gimmick use. Kept as searchable names without claiming sidearm category or damage.
Dynamo Lantern / Hollower's Rocks Exophase Exophase-backed combat-tool names. Check for dark-room safety, throwing, recovery, or spacing value. Use-case notes only; location, cost, and exact descriptions are not claimed.
Battery Buster YCG weapons article Similar achievement wording can confuse searches, but the official weapon article treats it as a primary weapon. Use this row to avoid filing it under sidearms. Route Battery Buster readers to the weapons page, not the sidearm list.

Start with role and Joules value: area control, summon pressure, visibility, safety, or gap crossing. Battery Buster routes to the weapons page.

What To Check Before Spending a Sidearm

Turns official sidearm names, Joules rules, and death-risk rules into spend-or-save decisions.

Player question Safe answer Spend when Save / verify when
Named sidearms Volt Hatchet, Gyro Dagger, and Recall Disc are confirmed by PlayStation Blog. Used in the official sidearm table and room-problem guide. Use the confirmed examples first, then sort new pickups by role before spending Joules.
Joules Official wording says sidearms use Joules and points players toward Joule Jars. Used for save/spend/recover decisions before dangerous rooms and bosses. This page focuses on spend/save decisions rather than cost sheets.
Death risk Sidearms are lost on death and more can be found in the field or breakables. Used for replacement notes and spending caution in blind routes. Specific replacement locations belong in route notes.
Other role types Official wording mentions throwing, dashing, blocking, summoning, and fishing-style sidearms. Use by role before worrying about the final name. Remember whether the tool throws, crosses danger, blocks, summons, or recovers.

The sidearm page keeps official examples separate from guide-side use decisions.

Converting Sidearm Videos Into Decisions

Official and beginner videos help explain when to spend Joules, when to save them, and how to categorize utility.

Video / source What to watch Action to try Keep separate
YCG Explains: Sidearms Sidearms are situational tools, not just replacements for the main weapon. Categorize sidearms by room clear, boss punish, exploration utility, and danger escape. All names, fixed locations, costs, or damage values.
YCG Explains: Economy Joules and death risk make sidearm spending a resource decision. Tell players to save sidearms until the hit is reliable. Optimal Joules farming or exact death-loss math.
Gamesear Beginner Guide Beginner coverage reinforces not wasting sidearms in blind rooms. Before spending Joules, check whether the main weapon can solve the room safely. All launch-build sidearm locations or boss solutions.

Questions Answered

Direct answers for the most common player questions on this topic.

Are sidearms separate from weapons?

Official material treats sidearms as part of Mina's combat toolkit alongside the whip and weapons. Because Joules are tied to sidearm context, costs and recovery are tracked separately.

Official page, press kit, PlayStation Blog

When should I use sidearms?

Use them conservatively for unsafe enemies, short boss punish windows, or situations where normal attacks cannot reliably reach.

Official material, beginner video notes

OFFICIAL SCREENSHOTS

Official Screenshots

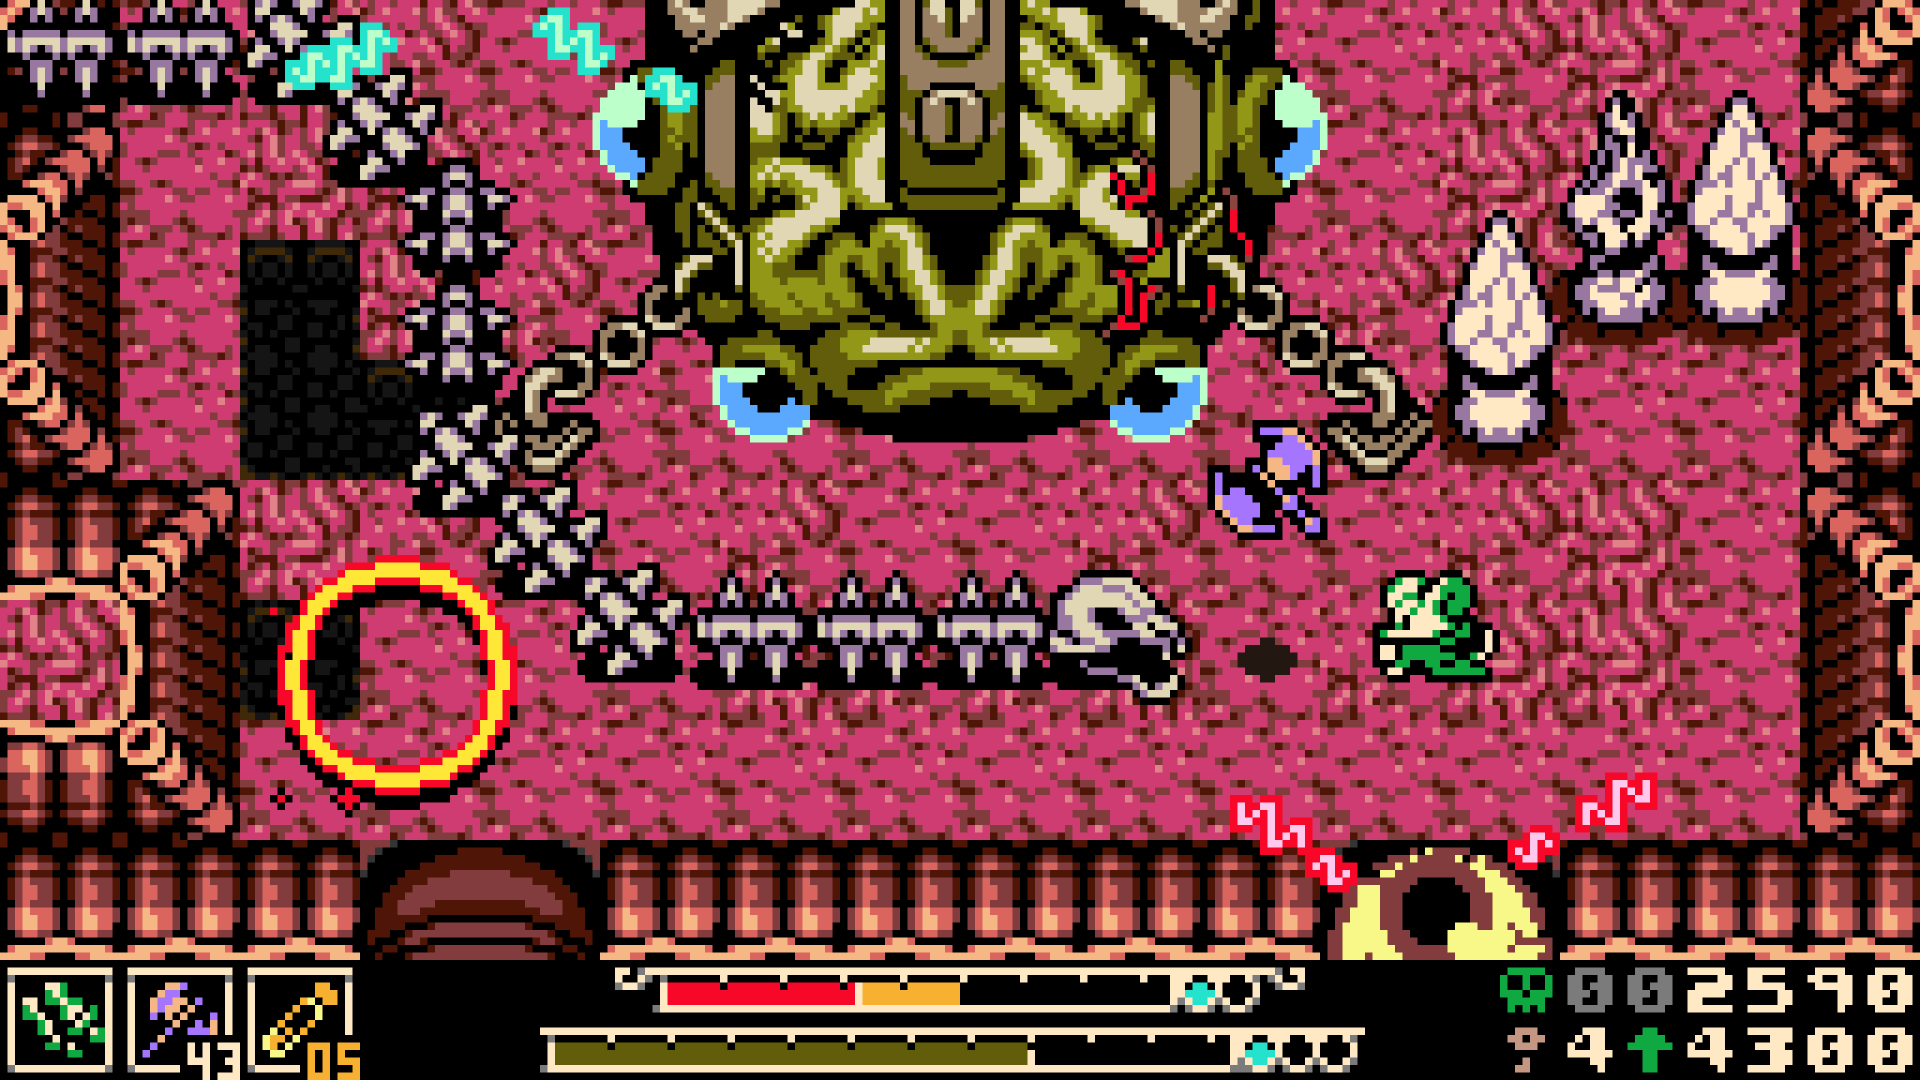
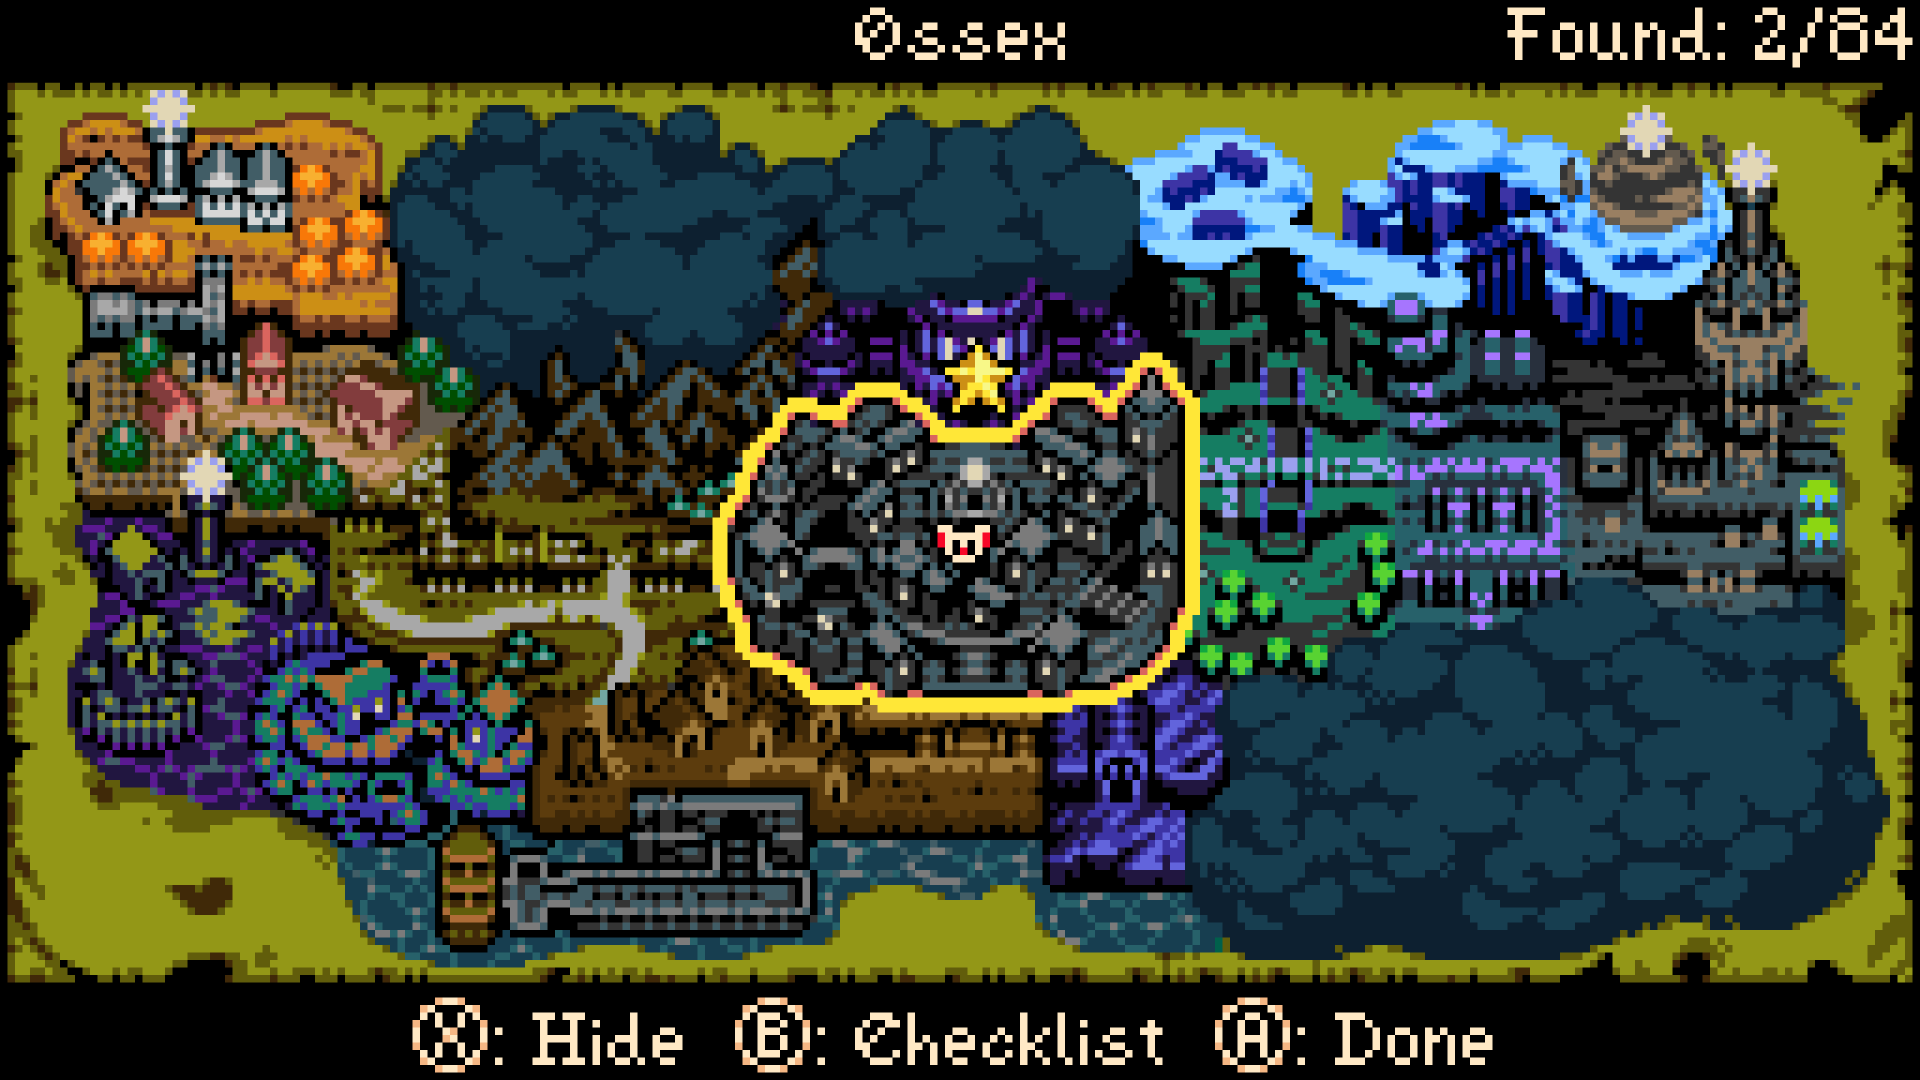
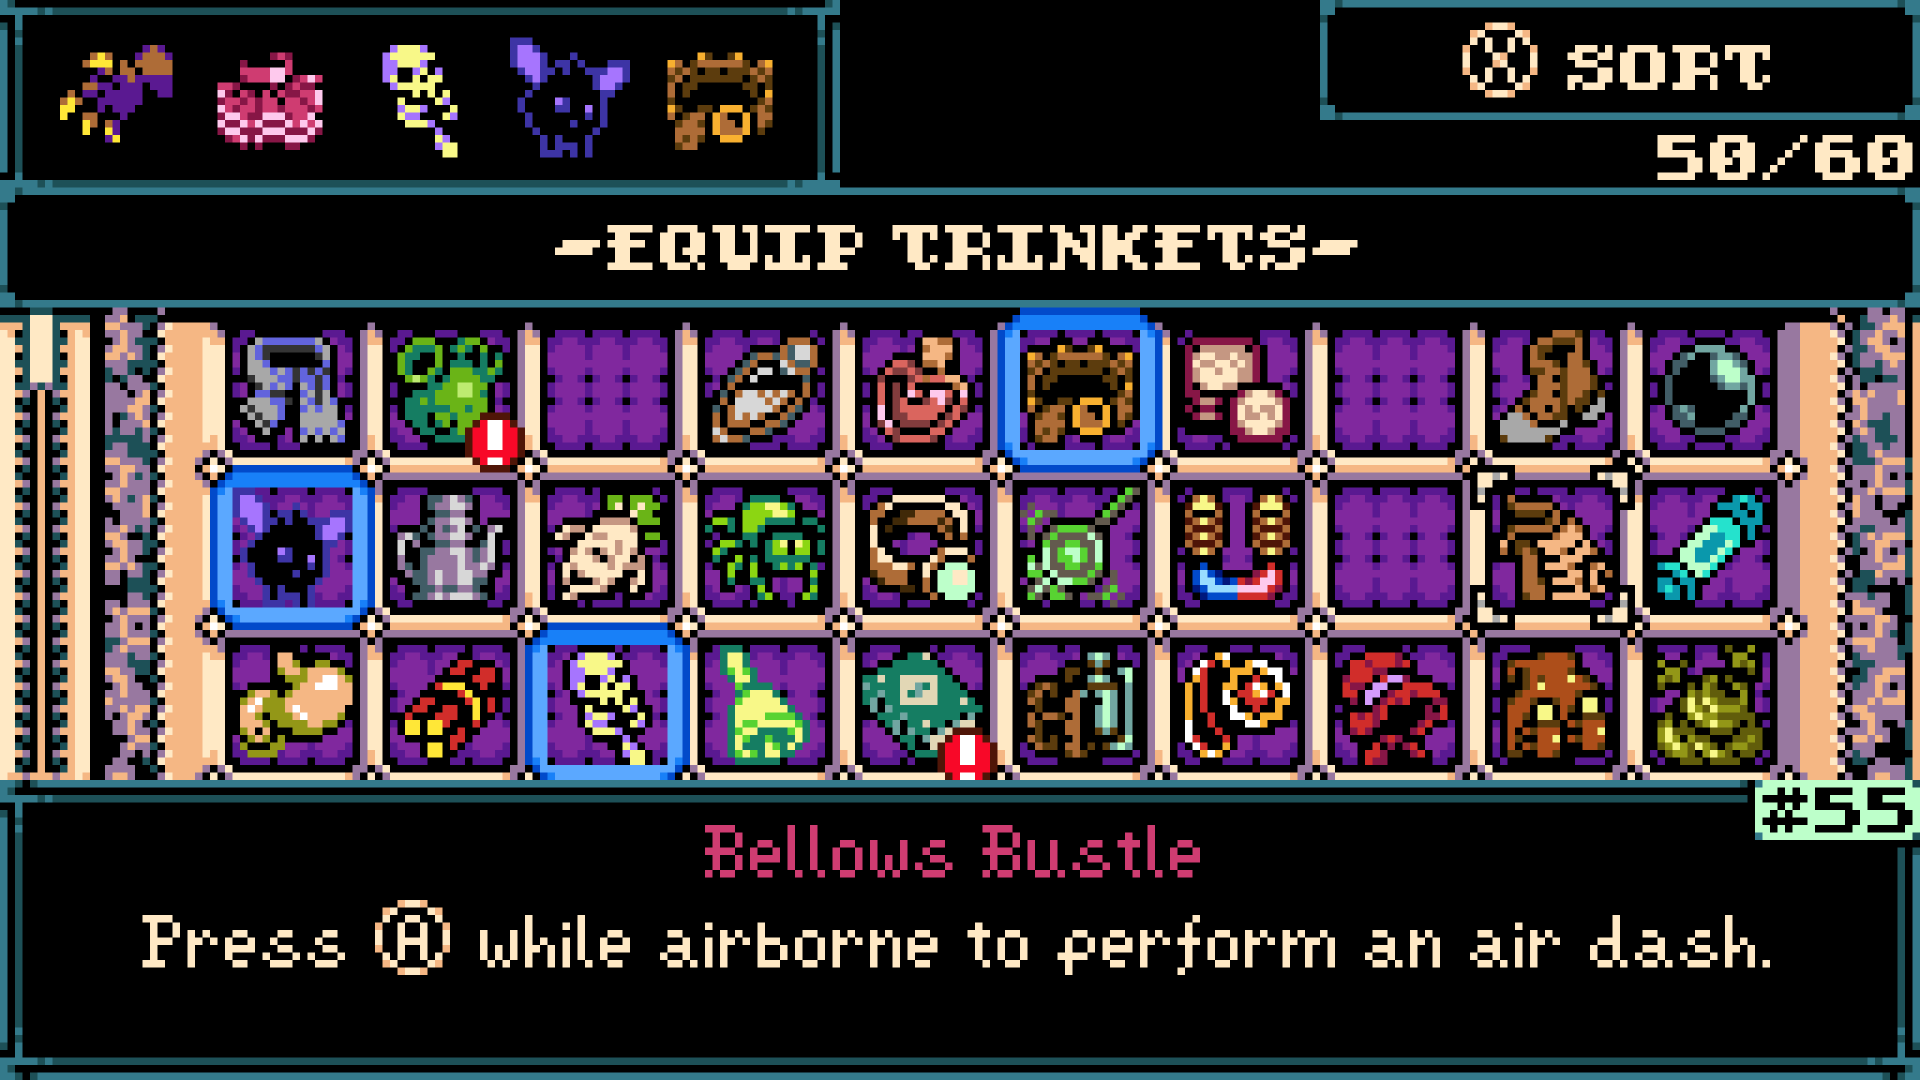
Selected lightweight screenshots from the Yacht Club Games press kit for guide pages and screen reference.

Official press-kit image 1
Official press-kit image #1 Official press-kit / Steam screenshot for combat framing and screen layout.
Official press-kit image 2
Official press-kit image #2 Official press-kit / Steam screenshot for UI and route-reference context.
Official press-kit image 3
Official press-kit image #3 Official press-kit / Steam screenshot useful for localization and menu references.

Key Takeaways

  • Sidearms are described as part of Mina's combat toolkit.
  • Sidearm value depends on Joules cost, hit reliability, exploration utility, and the boss window you are trying to punish.

What this page covers

  • Volt Hatchet, Gyro Dagger, Recall Disc basics
  • Joules cost and death-risk rules
  • Combat vs exploration use cases

Video and Image Sources

Use official and review videos for play feel, early routing, and buying context. Video content stays linked or embedded, not copied as subtitles or rehosted frames.

Yacht Club Games

YCG Explains: Designing Mina's Sidearms

Official design explainer for sidearm roles, utility, and how they differ from main weapons.

YouTube

SOURCES

Sources for this page

View all sources
Official

PlayStation Blog / Yacht Club Games

Official gameplay article covering the PS Blog six-Spark-Generator frame, starter weapons, 20+ hours, 25+ bosses/mini-bosses, 60 Trinkets, Underlab, Bones, Bone Up, Sidearms, Joules, and demo progress.

Video

YCG Explains: Designing Mina's Sidearms

Official design explainer for sidearm roles, utility, and how they differ from main weapons.

Video

YCG Explains: Balancing Mina's Economy

Official explainer for resource pressure, Bones, Joules, spending choices, and risk management.

Community Reference

wiki.gg Sidearms Page

Community reference for sidearm names, Joules rules, pickups, and death-risk notes. Use official examples first for player advice.

Review / Research

Exophase Achievements / Feats

Launch-window achievement and feat reference for sidearm names, boss-name references, shop/economy hints, and modifier context. Use as a reference source, not final route or reward proof.

Official

Yacht Club Games Official Page

Primary source for Yacht Club Games development/publishing, overview, genre, features, Steam/Humble/Nintendo entry points, release date, and language framing. Use live PS/Xbox store pages for current edition labels.

Official

Official Press Kit

Primary source for release date, ESRB E10+, overview copy, and official images/videos. Use PS Blog or official updates for boss count, trinket count, NG+, modifiers, and fishing.

Video

Yacht Club Games Demo Playthrough

Official demo playthrough for controls, UI, and early-game flow context. Do not use it as final route or reward proof.

Video

Gamesear Beginner's Guide

Launch-window beginner guide note for exploration, weapons, Joules, and sidearm decisions.

Review / Research

Mobalytics Beginner Guide

Launch-window beginner guide note for weapon choice, hints, Sparks, trinket slots, sidearms, and modifiers.

Video

Hulk Trooper Daggers Level 1 Video

Challenge-run note for short-range weapon pressure, no-sidearm decisions, and resource conservation.

Video

Game Informer Full Gameplay Demo

Demo-scope gameplay reference for early route and mechanics notes.

Video

Game Informer - Hands-On Preview

試遊プレビュー。挖地、武器選択、骨成長などの現代的な設計文脈を確認する。

Video

IGN - Hands-On Preview

試遊プレビュー。見た目は携帯ゼルダ風でも、難度やリスク管理が強い点の文脈。

Review / Research

PC Gamer Review

Review context for weapon upgrades, boss readability, genre expectations, and price-range wording.

Review / Research

GameSpot Review Article

Review context for difficulty, exploration density, weapons, sidearms, trinkets, and completion-time impressions.