Skip to content
Mina the Hollower Wiki

SYSTEMS

Mina the Hollower Systems

Check hollowing, Bones/Bone Up, Joules, trinkets, New Game Plus, modifiers, and fishing by what each changes while playing.

CONTENT SNAPSHOT

7 guide tables / 3 Q&A / 19 sources

Burrowing deserves its own guide because it affects both movement and defense.

START HERE

What To Do First

Official facts, store details, and video observations translated into actions you can use while playing.

Keep resources separate

Bones, Joules, and Trinkets do not answer the same problem. Keep economy/growth, Sidearm fuel, and loadout effects separate.

  • Track Bones for shops and Bone Up decisions.
  • Reserve Joules as Sidearm fuel.
  • Use Trinkets to solve current failure causes.

Sources: PS Blog / YCG economy video

Choose Bone Up by failure cause

First decide whether your problem is low damage, too many hits, or Sidearm dependence. Then pick growth around that.

  • Damage problems point to offense.
  • Repeat hits point to survival.
  • Sidearm plans need Joule management too.

Sources: PS Blog / official system details

Separate modifiers from first clears

New Game Plus, Modifiers, and Fishing are not the same as first-clear routing. Put them in replay, tuning, or side activity notes.

  • Prioritize normal progression on a first clear.
  • Keep difficulty tuning separate from route advice.
  • Treat Fishing as side/replay context.

Sources: official material / store listings

Practical Guide

Learn each system by what it changes: burrowing helps movement and defense, Bones and Bone Up shape growth, Joules affects sidearm use, and New Game Plus, modifiers, and fishing are extra goals to check after the core route. Yacht Club's art article explains why the GBC-style limits, 60fps target, and 64-color palette affect readability.

How burrowing helps

Burrowing has four practical uses: avoiding attacks, crossing hazards, opening routes, and repositioning in boss rooms.

  • Record what ground types allow burrowing.
  • Track which boss attacks can be avoided underground.
  • Teach it as survival first and speed second.

Resources and growth

For every resource, ask three questions: what to collect, when to spend it, and whether the choice can be corrected later. Keep Bones, Joules, and Plasma separate so healing mistakes and sidearm spending do not blur together.

  • Track Bones by location and use.
  • Track Joules pickup and sidearm spending.
  • Track failed Plasma Vial use by enemy tell, position, and timing.
  • Treat modifiers as tuning, challenge, or replay context rather than first-clear defaults.

QUICK ANSWERS

System Answers First

Splits Bones, Joules, Underlab, NG+, and modifiers into first-clear decisions.

Question Current answer How to use this
Are Bones and Joules the same? No. Bones/Bone Up are growth context; Joules are sidearm context. PlayStation Blog / official material.
What does Bone Up affect? Attack, Defense, Sidearms, and Bonestone conversion are read against your current failure point. PS Blog; no universal optimal order yet.
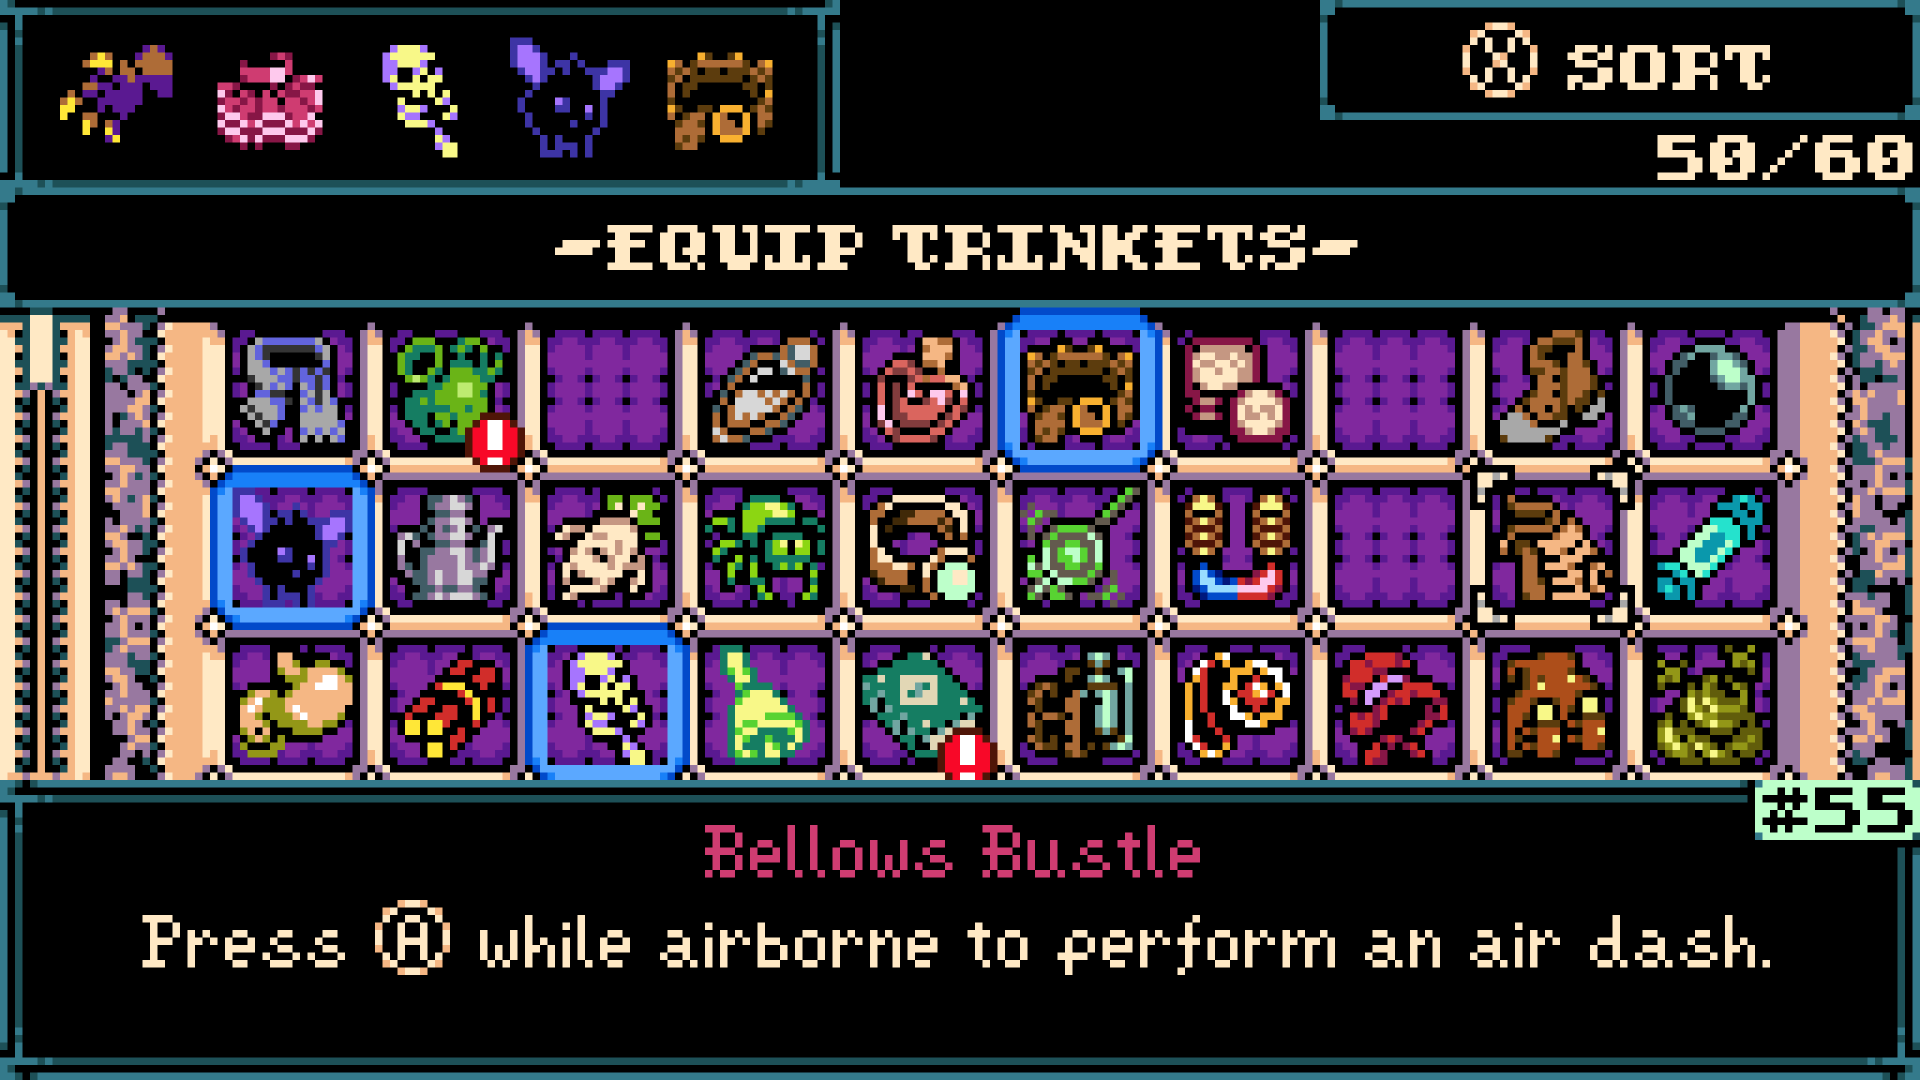
What is the Underlab for? Loadout preparation, especially equipping/removing trinkets before another route or boss. PS Blog / official context.
Do modifiers or NG+ matter first? They are kept separate from first-clear routing and treated as replay, challenge, or difficulty-tuning context. Press kit / reviews; achievement impact is source-checked separately.
What about fishing? Treat it as side content while first-clear routing focuses on objectives, equipment, and resources. Press kit.

The systems page turns terminology into play decisions rather than listing mechanics in isolation.

Primary Evidence

Resource and Progression Priority Manual

Separates Bones, Bone Up, Joules, and trinkets so spending choices stay clear.

System Decide first Use case Source / basis
Bones Before a risky route, check shops and Bone Up instead of over-carrying. Spend before death-risk pressure becomes expensive. PS Blog / YCG Economy
Bone Up Ask whether Attack, Defense, Sidearms, Bonestone conversion, or saving the choice solves the current failure. If the same attack keeps hitting you, fix avoidance before chasing stats. PlayStation Blog
Joules Track spending rooms, refill rooms, and boss-entry reserves. Save for guaranteed hits, hazardous rooms, and late boss pressure. PlayStation Blog / YCG Economy
NG+ / Modifiers / Fishing Treat them as longer-term goals during a first clear. Use after the main route for replay, collection, or challenge context. Official material

The systems page turns terminology into spending and routing decisions.

World, Resource, and Progression Terms

Common guide terms organized by what a player should do with them while playing.

Term Category What to watch
Tenebrous Isle Setting Collect area names, revisit notes, and generator progress under this map layer.
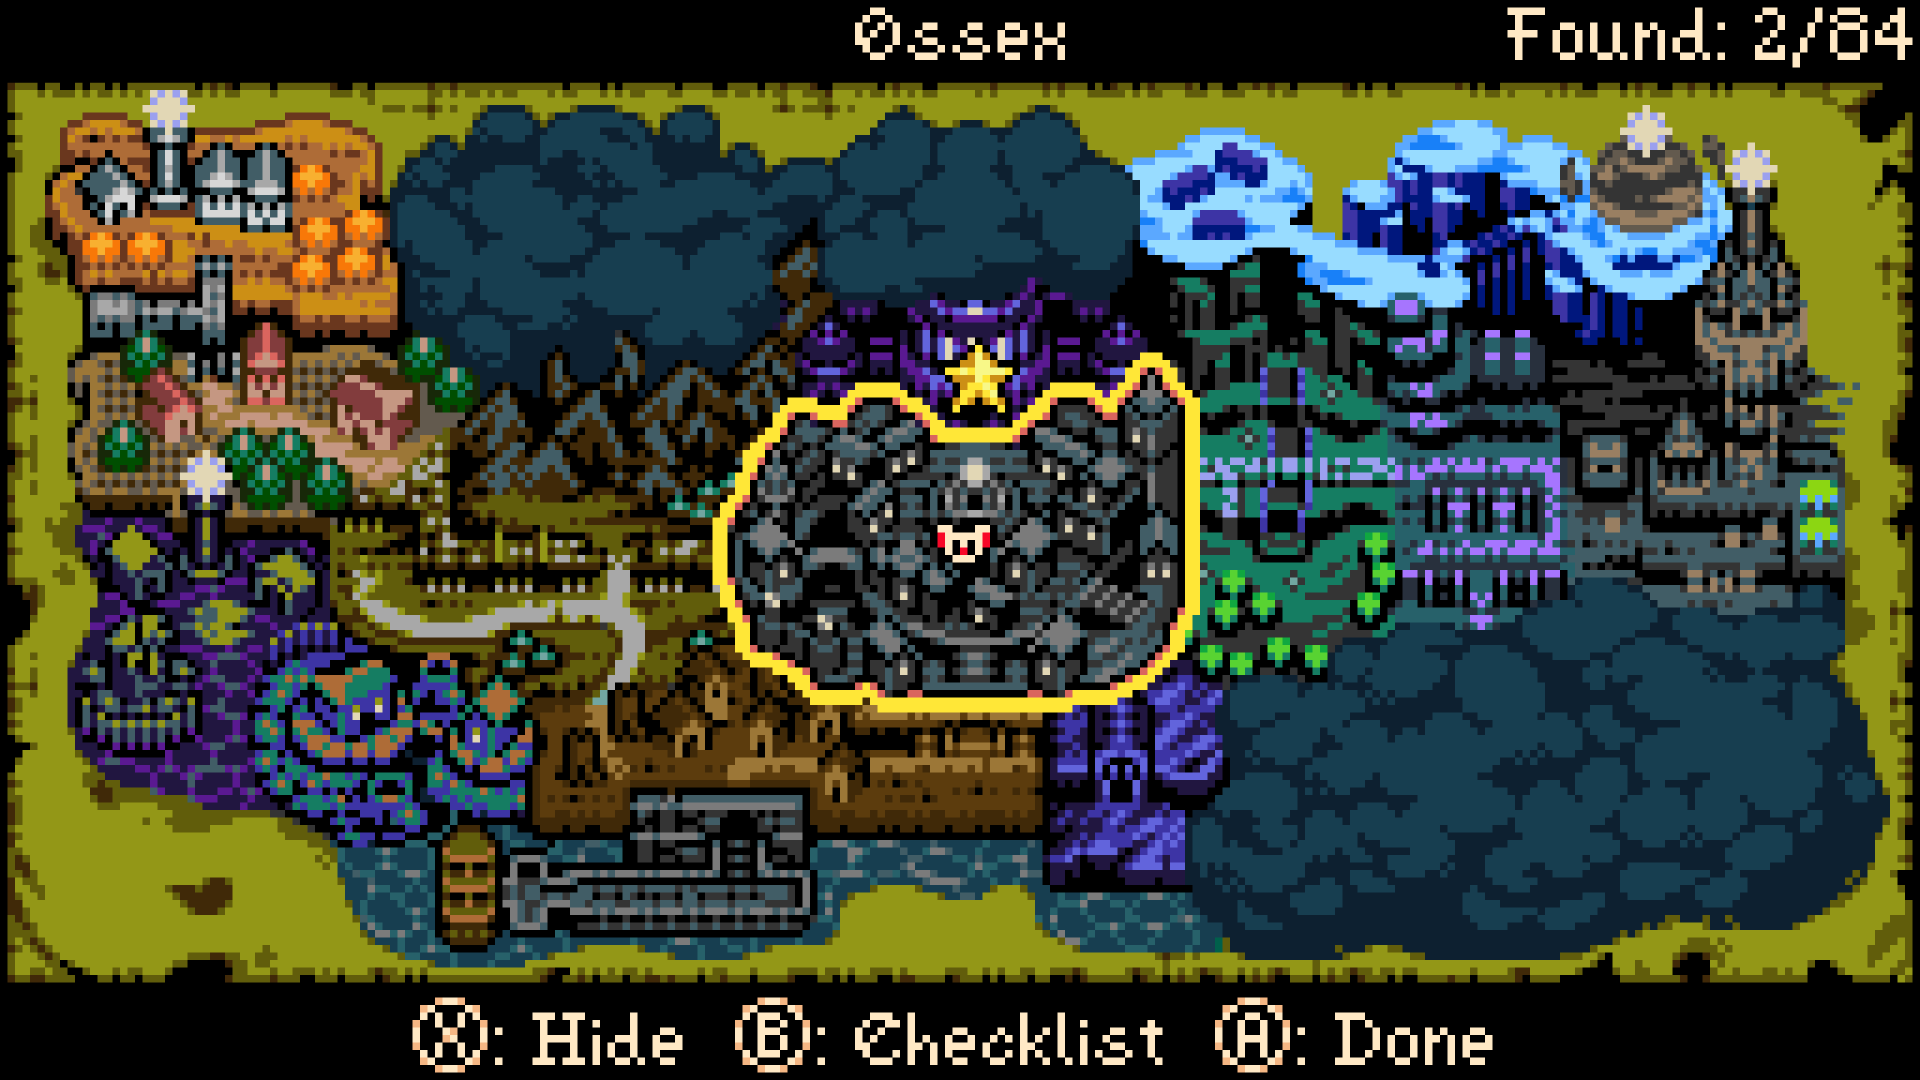
Ossex Hub context Connect NPCs, shops, Underlab, and trinket/loadout changes here.
Baron Lionel Quest sender The figure who calls Mina to the island. Keep story/NPC notes separate from route mechanics.
Underlab Equipment management Swap trinkets and build exploration, boss, or survival loadouts.
Bones Currency / growth resource Spend before over-risking death loss; check shops and Bone Up choices.
Bone Up Level-up choice Choose Attack, Defense, Sidearms, Bonestone conversion, or saving the choice.
Joules Sidearm resource Save for reliable hits, hazardous rooms, or boss punish windows.
Bonestone Bones conversion target Known through Bone Up choices; treat it as a safer Bones conversion option while reading the next route risk.

Official Visual and Feel Notes

Official art-direction details translated into practical screen-reading and buying-context notes.

Item Officially described detail Player takeaway
60fps The official art article describes 60 frames per second as part of making control feel smooth and fair. When you get hit, review tells, range, and dodge direction before blaming input feel.
256x144 Mina uses a wider 256x144 resolution compared with the Game Boy's 160x144. The close-up view makes room-by-room reads of enemies, floors, and exits important.
Rendering approach The team avoids 3D, anti-aliasing shaders, and anachronistic-looking effects. Read tiles, enemy shapes, projectile colors, and object contrast instead of expecting modern visual callouts.
Parallax / screen effects Parallax scrolling and scanline-like row effects add depth and transitions. Separate atmospheric background movement from playable floor, enemies, and items.
64-color palette The team built a custom 64-color palette for Mina. Color helps mood and foreground readability, so use contrast to identify interactable elements.
Sprite limits Art follows GBC-style tile limits: 4 colors per 8x8 tile including black and transparency. Large bosses or weapons may use color separation to help you identify danger.

This table is based on Yacht Club Games' official art article. It is not a platform-by-platform performance guarantee.

Resources, Growth, and Replay Systems

Official systems and launch-window guide notes translated into practical decisions while playing.

System Confirmed detail Player decision
Burrow Core action for avoiding hazards and monsters. Learn it first as evasion, terrain crossing, and boss positioning.
Bones Currency of Tenebrous Isle, earned from enemies or found in the world; used for items and Bone Up. Avoid carrying too many before spending because death can put them at risk.
Death / Spark recovery Launch guides and reviews describe death as dropping Spark, with carried Bones at risk if you die again before recovery. Before returning to a dangerous room, reset Joules, Plasma, and your return path so the recovery run has one clear job.
Bone Up Growth choices can improve Attack, Defense, Sidearms, convert to Bonestone, or be saved. Choose based on whether the current run is failing from low damage, survival pressure, or weak sidearm power.
Joules / Joule Jars Resource tied to sidearm use; Joule Jars are worth finding. Save for reliable hits and dangerous rooms.
Underlab Base context where trinkets can be equipped and removed. Return after new trinkets and sort them by boss, exploration, or survival use.
New Game Plus Confirmed in official material. Treat as a post-clear replay hook.
Gameplay modifiers Official material mentions hundreds of gameplay modifiers. Keep separate from first-clear route notes and document as challenge/accessibility settings.
Fishing Fishing mini-game is mentioned in official material. Track as optional side content rather than core route progress.

First-Clear Resource Decisions

Turns Bones, Bone Up, Joules, and Underlab context into decisions during a first playthrough.

Resource / system Use it when Save it when Common mistake
Bones A shop, Bone Up choice, recovery item, or equipment need is clear. You are about to enter an unknown high-risk room or boss path. Carrying too many into danger without spending or banking progress.
Bone Up The problem is clearly damage, survival, or sidearm power. You cannot tell whether the loss came from execution or stats. Trying to fix repeated dodge mistakes with numbers only.
Sparks / trinket slots When you are unsure where to spend Bones, prioritize more Sparks for retries, then trinket slots for build flexibility. If the current failure is execution, routing, or wasted Joules, isolate that problem first. If the current failure is execution, routing, or wasted Joules, fix that before spending more Bones.
Joules An enemy is unsafe to approach, a boss window is short, or a room is dangerous. You are entering a blind boss fight or do not know the Joule Jar route. Spending sidearms on safe enemies and arriving empty before a boss.
Underlab You found a new trinket, are preparing for a boss, or are switching from exploration to combat. You only need to practice avoiding a known attack. Never rebuilding loadouts by exploration, boss, or survival role.
Modifiers You want support or challenge changes such as No Bone Loss, Weak Boss, game speed, or healing speed. You are still learning the normal route and resource loop. Treating modifier-based play as the default first-clear route. Check Feats/Achievements impact separately.
Fishing You want side content, collection notes, or a break from the main route. A generator or boss objective is already clear. Presenting it as required main-route progress.

Exact values, prices, unlocks, and all modifier names are added when observed clearly. This table focuses on first-clear decisions.

Adjustment Order When You Are Stuck

Turns official systems and review context into a practical order of changes.

Symptom Change first Change next Test next
The same attack kills you Choose whether burrow, jump, or lateral movement answers it before changing weapons. Return to Nightstar spacing and reduce punish attempts to one hit. If it still hits you, write down the attack type and the dodge that failed.
You reach bosses empty Stop spending sidearms on safe enemies; save Joules. Record breakables, Joule Jars, and safe refill rooms. If you still arrive empty, map safe refill rooms and return paths.
You are lost Check return paths, closed doors, NPC/newspaper hints, and suspicious ground before pushing forward. Revisit old rooms after new trinkets or sidearms. If you are still lost, prioritize alternate exits and shortcuts back to safety.
Damage feels low Reduce repeated damage first, then evaluate Bone Up or weapon changes. Try weapons that match the punish window, such as Maul for clear recovery or daggers for short openings. If fights still drag, test one weapon at a time against the actual punish window.
Difficulty feels wrong Separate normal-route basics from challenge or support settings. Treat modifiers as replay/challenge/support context, not first-clear assumptions. Only then test modifiers as support or challenge settings outside the normal route.

This action-order table prioritizes what players can change now: route choice, sidearm spending, trinket swaps, and resource timing.

Official Explainers as System Notes

YCG Explains videos become system-reading notes for burrowing, combat, economy, Joules, and modifiers.

Video / source What to watch Action to try Keep separate
Yacht Club Games Demo Playthrough Official demo footage shows UI, basic flow, and early system context without relying on outside commentary. Use as the first visual reference for explaining controls and system categories. Full unlock order, exact values, drops, or optimized routes.
YCG Explains: Economy The economy is about risk and spending, not only collecting more Bones. Keep Bones, Bone Up, and Joules in separate system tables. Farm rates, price sheets, or optimal growth order.
YCG Explains: Dodge and Parry Evasion choices matter in normal rooms as well as boss fights. Explain burrow, jump, spacing, and counters by attack type. Every attack's correct dodge or frame data.
Shacknews Modifiers Modifiers should be separated from first-clear routing. Use FAQ/system pages to split first-clear, challenge, and replay contexts. All modifier names, effects, or unlock conditions.

Questions Answered

Direct answers for the most common player questions on this topic.

Are Bones, Bone Up, and Joules the same thing?

No. Read Bones and Bone Up as growth/upgrade context, and Joules as sidearm context. Keeping them separate makes spending decisions easier.

PlayStation Blog

When should I care about New Game Plus or fishing?

Official material mentions New Game Plus, gameplay modifiers, and fishing. During a first clear, treat fishing as side content and NG+/modifiers as replay goals, while the main route focuses on equipment, resources, and boss preparation.

Yacht Club Games Spring 2026 update

Should I use modifiers on a first clear?

You can, but reviews note that modifiers may affect feat or achievement-style goals. This wiki keeps first-clear routing separate from difficulty tuning, challenge, and replay modifier advice.

PC Gamer, RPG Site, Nintendo Life

OFFICIAL SCREENSHOTS

Official Screenshots

Selected lightweight screenshots from the Yacht Club Games press kit for guide pages and screen reference.

Official press-kit image 1
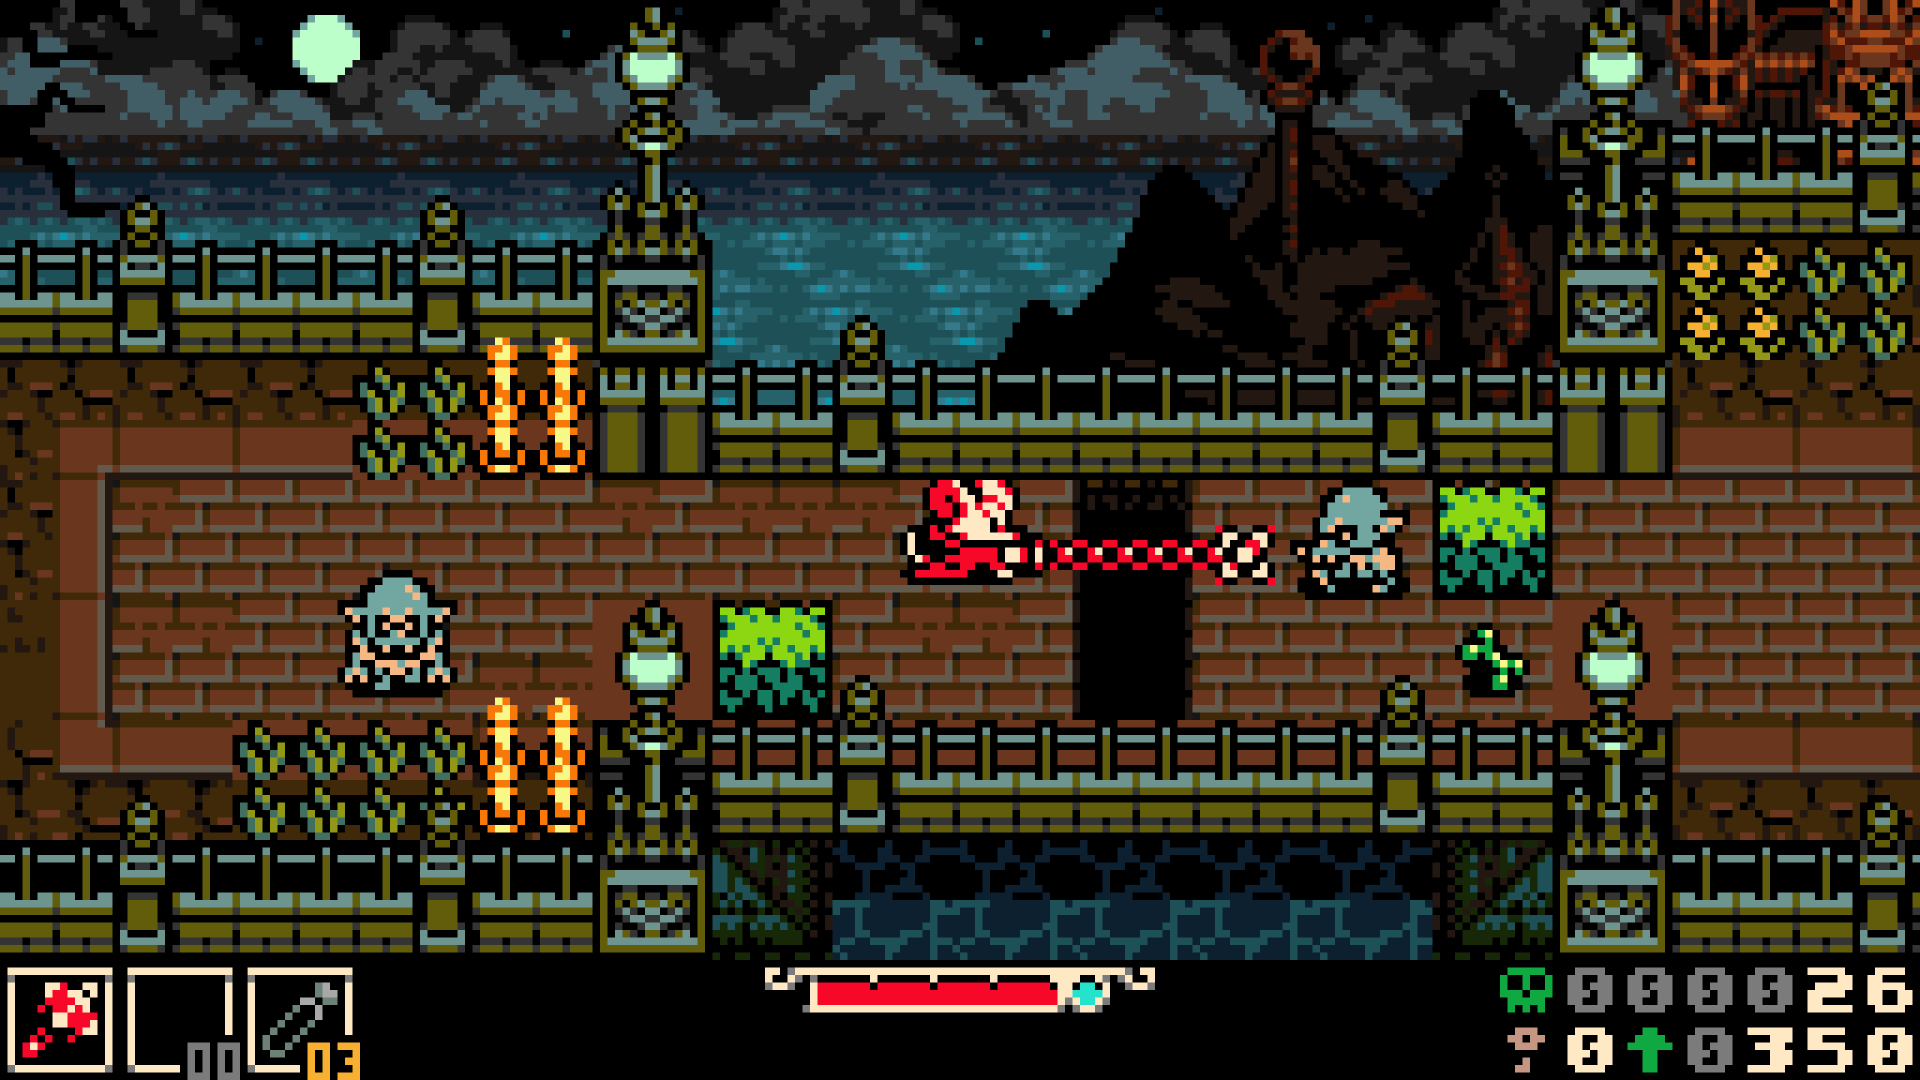
Official press-kit image #1 Official press-kit / Steam screenshot useful for localization and menu references.
Official press-kit image 2
Official press-kit image #2 Official press-kit / Steam screenshot for UI and route-reference context.
Official press-kit image 3
Official press-kit image #3 Official press-kit / Steam screenshot for exploration and baseline screen reference.

Key Takeaways

  • Official material mentions New Game Plus, gameplay modifiers, and fishing.
  • Hollowing is a core action used for movement and evasion.

What this page covers

  • Burrowing as movement and evasion
  • Bones, Bone Up, and Joules differences
  • New Game Plus, modifiers, and fishing

Video and Image Sources

Use official and review videos for play feel, early routing, and buying context. Video content stays linked or embedded, not copied as subtitles or rehosted frames.

Yacht Club Games

YCG Explains: Balancing Mina's Economy

Official explainer for resource pressure, Bones, Joules, spending choices, and risk management.

YouTube

SOURCES

Sources for this page

View all sources
Official

PlayStation Blog / Yacht Club Games

Official gameplay article covering the PS Blog six-Spark-Generator frame, starter weapons, 20+ hours, 25+ bosses/mini-bosses, 60 Trinkets, Underlab, Bones, Bone Up, Sidearms, Joules, and demo progress.

Official

Yacht Club Games Spring 2026 / Demo Update

Official update for demo scope, progress carryover, launch window, platform context, NG+, gameplay modifiers, and fishing.

Video

YCG Explains: Balancing Mina's Economy

Official explainer for resource pressure, Bones, Joules, spending choices, and risk management.

Video

YCG Explains: Defying Dodge and Parry

Official combat-design explainer for reading attacks, evasion choices, and defensive timing.

Video

YCG Explains: Designing Mina's Sidearms

Official design explainer for sidearm roles, utility, and how they differ from main weapons.

Official

Yacht Club Games Official Page

Primary source for Yacht Club Games development/publishing, overview, genre, features, Steam/Humble/Nintendo entry points, release date, and language framing. Use live PS/Xbox store pages for current edition labels.

Official

Yacht Club Games Art Article

Official art-direction source for the GBC-style look, internal resolution, 60fps target, 64-color palette, and sprite limits.

Official

Official Press Kit

Primary source for release date, ESRB E10+, overview copy, and official images/videos. Use PS Blog or official updates for boss count, trinket count, NG+, modifiers, and fishing.

Video

Yacht Club Games Demo Playthrough

Official demo playthrough for controls, UI, and early-game flow context. Do not use it as final route or reward proof.

Video

Shacknews All Modifiers Video

Modifier-system video note. Confirm names and effects in-game before writing exact rules.

Review / Research

Mobalytics Beginner Guide

Launch-window beginner guide note for weapon choice, hints, Sparks, trinket slots, sidearms, and modifiers.

Review / Research

Exophase Achievements / Feats

Launch-window achievement and feat reference for sidearm names, boss-name references, shop/economy hints, and modifier context. Use as a reference source, not final route or reward proof.

Video

Yacht Club Games Developer Live Stream

Developer context. Use for verification, not long quotation.

Video

GameXplain Director Interview

Developer-interview source for influence and design-intent context, not hard route data.

Review / Research

GameSpot Difficulty Context

Review/context article for difficulty, modifiers, alternate route choice, and adjustment advice. Use as player guidance, not official fact.

Review / Research

PC Gamer Review

Review context for weapon upgrades, boss readability, genre expectations, and price-range wording.

Review / Research

GamesRadar+ - Mina the Hollower review

初期3武器、Plasma/healing、Trinket/build、NG+、おおよそのクリア時間のレビュー文脈。数値やビルド強度は公式事実として扱わない。

Review / Research

RPG Site - Mina the Hollower review

エリア順の自由度、burrow、Trinket、Modifiers、クリア時間のレビュー文脈。正式ルートや全Trinket位置の根拠にはしない。

Review / Research

Famitsu Japanese Review

Japanese-language source for local wording, burrowing feel, difficulty impressions, and buying-context vocabulary.